We remain fully operational. Our teams are working around the clock to ensure your deliveries continue safely.

DOWNLOAD THE APP


Customer Services
Copyright © 2025 Desertcart Holdings Limited
DOWNLOAD THE APP

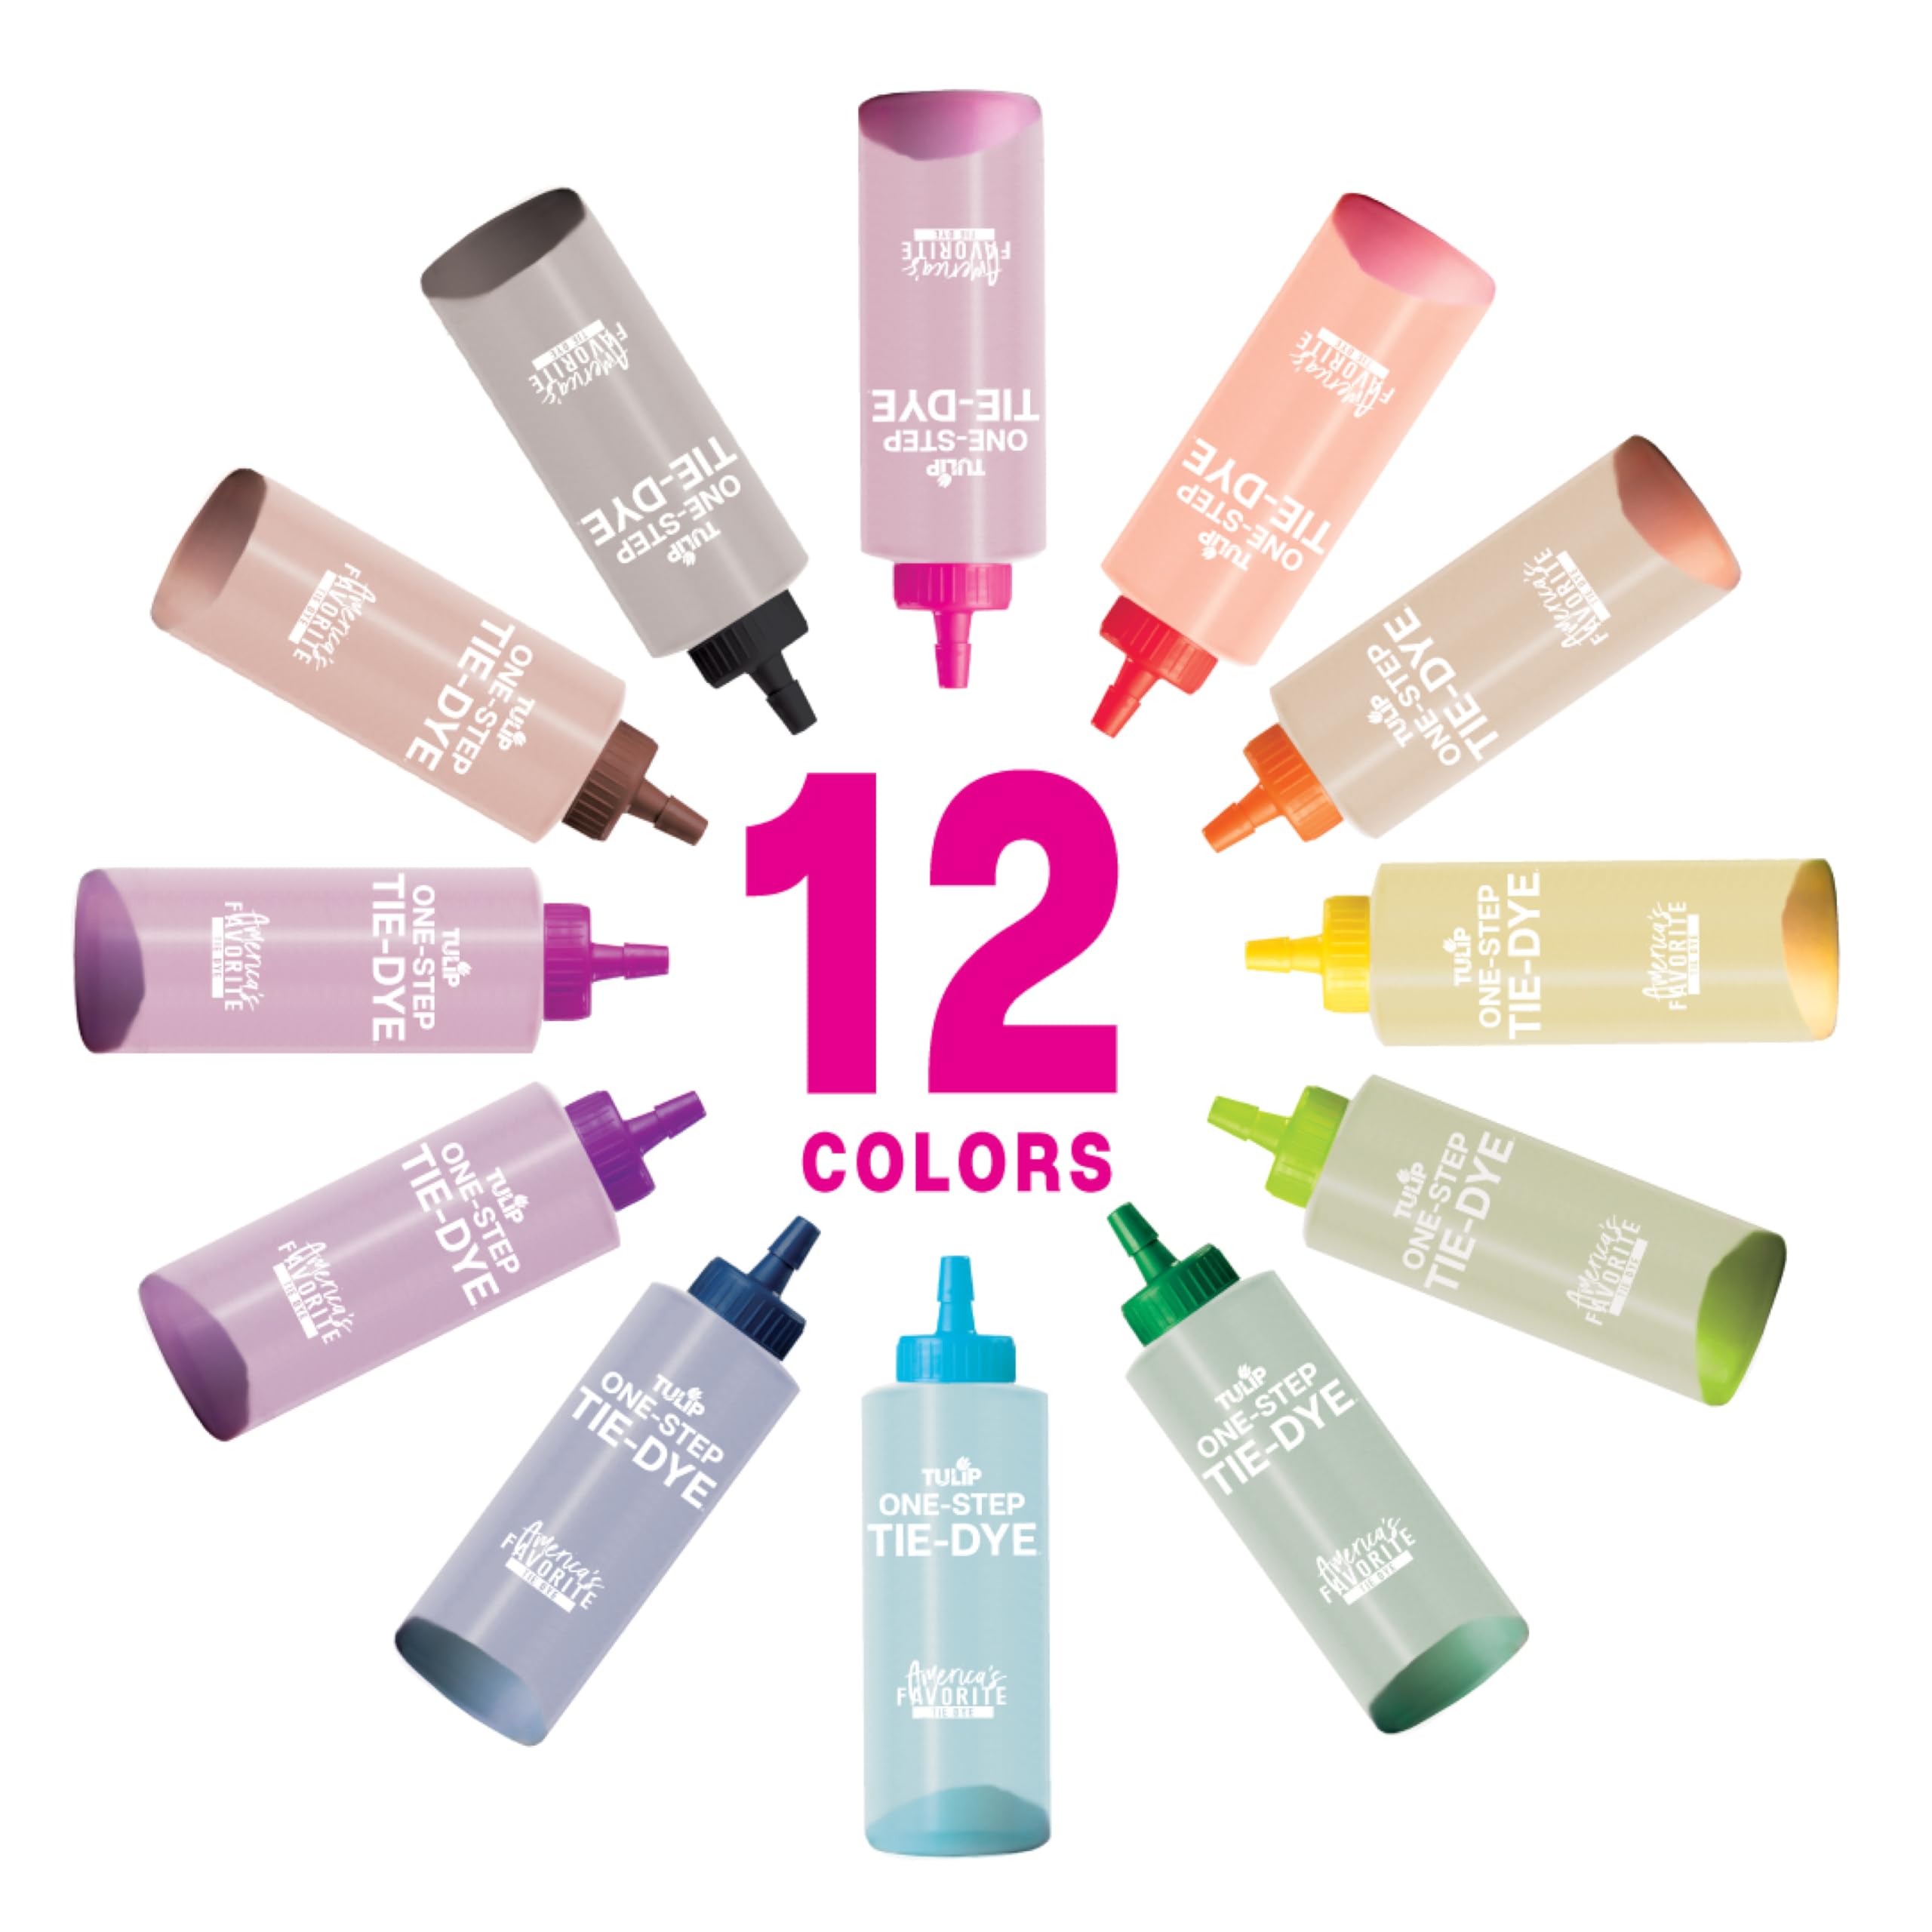


🌟 Dye Bold, Live Bright — Your Creative Vibe Starts Here!
The Tulip One Step Tie Dye Kit offers 12 vibrant, easy-to-use dye colors in convenient squeeze bottles, designed for up to 4 users. No presoak required, with a detailed guide featuring multiple trendy patterns. Perfect for natural fabrics, this kit ensures long-lasting, machine-wash-safe colors that keep your DIY projects fresh and bold.


| ASIN | B00DV933WY |
| Best Sellers Rank | #14,823 in Arts, Crafts & Sewing ( See Top 100 in Arts, Crafts & Sewing ) #69 in Fabric Dyes |
| Brand Name | TULIP |
| Color | Super Big |
| Compatible Material | Cotton, Linen, Rayon, Wool |
| Customer Reviews | 4.7 4.7 out of 5 stars (7,221) |
| Global Trade Identification Number | 00017754316790 |
| Item Form | Liquid |
| Item Type Name | Tie Dye |
| Item Weight | 0.79 Pounds |
| Manufacturer | Tulip |
| Manufacturer Part Number | 31679 |
| Model Number | DC31679 |
| Number of Items | 1 |
| UPC | 017754316790 |
| Unit Count | 1.0 Count |
A**L
Worked great for dying shirts!
These were a great purchase for dying shirts as a summer project with my son. I didn’t need a huge pack of colors so these were perfect. It was very easy to use. The colors were vibrant and there was enough mixture to do several shirts. The colors don’t fade after washing.
L**3
Wonderful starter Kit, Patience is key!
Buying this kit was a "no-brainer" as I was searching for a simple kit with many color options, and pretty cost effective. I'll add some tips that will help your colors pop, and stay sharp wash after wash. Get yourself some organic urea nitrogen, and soda ash for dye. Both can be found here on Amazon under the "Jacquard" brand. Dick Blick has both of these items for considerably less cost, but I wanted everything to arrive at once so I ordered everything from Amazon! Step 1: Add two cups of the soda ash to two gallons of warm water, and dissolve. Be careful with this step as the fumes can be quite caustic. WEAR GLOVES. The soda ash will severely dry out your hands, and its just an unpleasant experience. Add items you wish to Tie dye to the water, and soda ash mixture, let sit for around an hour, be sure that items are thoroughly "soaked." Step 2: since the dye is in 12, 4 ounce bottles, add only one half tablespoon of the urea organic nitrogen to the dye powder before filling with warm water, and shaking! Shake it up!! Shake it real good, y'all! Now, your dye bottles are filled, your items are soaked, and your knees are shaking because you are ready to dye! Wring out all excess water from your items, and choose your design. This kit has a paper showing different designs, but YouTube is a great place to look up ideas! Now, if you wear any size shirt greater than a Men's large, I recommend doing the "sunburst" design, as it takes considerably less dye to cover, and saturate. Smaller items will look much better tie dyed, such as socks and underwear. As you can see in my photos. Finally, you've dyed all the things! Use plastic bags or saran wrap to wrap them each individually, never place two dyed items together or the colors will bleed into one another. This kits specifies to wrap for 8 hours, but I waited around 18 hours before unwrapping. Rinse excess dye out with COLD water, and wash on delicate, with cold water! Dry however you wish! I hung mine up to dry.
H**N
Color that lasts & easy to use!
We used these for a baby shower keepsake where guests tie-dyed burp clothes and onesies for the parents-to-be and it was wonderful! The color has lasted and not faded, and they have stayed just as bright ad the first time we washed them. Easy to use and fun to use!
R**S
Perfect all-in-one kit - recommend buying own gloves though
This package was great. I bought a bus tub (like in restaurants) and a strainer (for cooling pizza) at my local restaurant supply store because I wanted a safe container to use to dye in and the diameters were perfect. I only ended up using 8/12 colors to die three 4x Hanes v-neck t-shirts to wear for sleeping. There was plenty of dye even when I only used two bottles per shirt although if it were double, I would have had more vivid colors. I *do* like how the colors came out. I didn't try any of the methods in the kit on techniques but did research looking for examples of what I wanted to beforehand. The plastic tarp sheeting was the perfect size for the space I had (I did this indoors in my laundry room) and I just needed to wrap everything up and toss it in the trash when I was through. Cleanup was a breeze, the dye didn't get on my skin although I used professional latex gloves that I already owned. (I never use the gloves that come with hair dye either.) The only pain about the whole process was the actual rinsing of the t-shirts. I probably had to rinse about a dozen times in cold, another dozen in warm and then perhaps half a dozen in hot to get to a light murky color. I didn't expend more energy to get clear water. The colors have stayed true and I have washed the shirts several times on their own in warm water and with a set of blacks because my fabric softener wasn't getting the t-shirts soft enough.
D**B
Excellent, fun craft
The kit was fun and relatively straightforward. The suggested designs were helpful even though we ended up looking up more complicated ones online. We dunked the clothing in water and then wrung it out well enough before rubber banding them into desired designs. When it came to the actual application, it was messier than expected. We did it outside on plastic tarp but the liquid kind of squirts everywhere. I wouldn't recommend trying to do small/intricate design with these bottles alone. We rotated the clothing to try and saturate fully from all sides, but again, it got really messy. After we were done applying it looked like the underside would end up an ugly runny brown, and I was worried. But it definitely did not turn out that way! We let our shirts sit for 24 hours because that's how long it took the sweatshirts to become mostly dry, then rinsed them well and put them in the washer with just a teeny tiny bit of laundry soap on cold and delicate, large load because it recommends using excess water to wash. Everything turned out really great and vibrant and not brown at all!! However, we used every bit of all the bottles except for the brown one, and ended up with two crewneck sweatshirts, a short sleeve tshirt and two long sleeve tshirts (these two aren't pictured). If we hadn't done sweatshirts and long sleeve shirts we MAYBE could have made 8 tshirts total. The kit says you can do up to 36 projects, but unless you're tie-dyeing headbands and bandanas, that part is not true. Overall good product, though.
A**H
Amazing Colors
I love Tulip Brand tie dye because of the concentrated colors. They hold up wash after wash. I do suggest soaking your items to be dyed in soda ash prior to tie dying. Any brand will work, just follow the manufacturer instructions. Pulp Tie Dye kits come with easy to follow instructions and enough supplys for your intended project. The package will tell you exactly how many items the kit will dye. I highly recommend this brand as it has never failed me.
S**T
Those little bottles do tons of shirts. I was pleasantly surprised. I didn’t leave the shirts on bags as long as we should have but they are dark enough and still look great! The kit comes with everything you may need to tie dye successfully you just need your own plastic bags to keep the made shirt in for awhile. Perfect for a nice day outside. I will be buying again for my daughters 4th birthday party.
B**E
Buon qualità prezzo
M**.
Für den 9. Kindergeburtstag meiner Tochter hatten wir etwas Kreatives gesucht, mit dem wir die Kinder gut beschäftigen können und hinterher ein individuelles Mitgebsel haben. Nach einigen Überlegungen haben wir uns für die Gestaltung von Batik-Shirts entschieden und sind nach einiger Suche auf die Tulip One-Step-Tie Dye Batikfarben gestoßen. Erster Vorteil gegenüber klassischen Batikfarben: Es ist kein zweiter Fixierungsgang notwendig. Zweiter Vorteil: Wir können eine Menge an Farben nutzen und müssen uns nicht auf einige, wenige beschränken. Als Vorbereitung haben wir uns zwei, drei Tutorials auf Youtube angesehen, die man schnell findet und die einem einige gute Techniken einfach näherbringen. Es sah eigentlich zu einfach aus. Also kam gestern die Nagelprobe, 14 kleine, anspruchsvolle Prinzessinnen waren angekommen und wir sind ohne Probelauf das Wagnis eingegangen! Ablauf: T-Shirts aus 100 % Baumwolle hatten wir organisiert und bereits einmal gewaschen. Nun werden die Shirts nach Anleitung "zusammengefaltet" bzw. In sich verdreht und mit den beigefügten Gummis fixiert. Das geht einfach, den Kindern mussten wir dabei kaum helfen. Parallel habe ich die kleinen, bereits mit Farbpulver bestückten Fläschchen mit kaltem Wasser aufgefüllt und gut geschüttelt. Damit sind die Farben, die dann innerhalb von 45 Minuten verarbeitet werden sollen, schon fertig. Zum Glück war gutes Wetter, ich hatte im Garten eine Plane ausgebreitet und mit Küchenrolle belegt. Damit sollte die überschüssige Farbe aufgesogen werden, um die Schweinerei gering zu halten. Das funktionierte auch sehr gut. Wichtig! VOR dem Auftragen der Farben die beigelegten Handschuhe anziehen, die Farbe geht von der Haut kaum ab. Nun einfach mit den Fläschchen vorsichtig die Farbe auftragen. Man bekommt schnell ein Gefühl dafür, die richtige Menge zu verwenden. Dabei das Shirt erst von einer, dann von der anderen Seite tränken. Die Farben möglichst wenig vermischen, dann wird das Ergebnis am besten. Im Anschluss die fertigen Shirts vorsichtig in Folie einwickeln und dann liegen lassen. Wir waren Nachmittags fertig und haben die Farben den ganzen Abend und die ganze Nacht einwirken lassen. Heute morgen unter kaltem Wasser sehr lange ausgewaschen und dann nochmal lauwarm mit Handwaschmittel ordentlich nachgewaschen. Was soll ich sagen? Ein Shirt war schöner als das andere, ich bin total begeistert. Tolle, kräftige Farben und super Muster. Es ist wirklich kein Shirt schlecht geworden. Als kleiner Tip zum Schluss: je chaotischer und bunter die vorbereiteten Shirts aussahen, desto toller waren die Ergebnisse! Wir sind extrem zufrieden, sogar begeistert, daher dieser Erfahrungsbericht, mein erster seit Jahren.
J**C
I used this with three kids age 8-11 to make tie-dye T-shirts. It contained the powder dyes in bottles, gloves, elastic bands and a small plastic sheet which covered only half my table. The instructions were OK but we watched a few YouTube videos before we started so we knew what we were doing. We did however miss out putting an oven rack underneath the T-shirt as we were adding the dye so I recommend doing that. The kit doesn't come with anything to dye so we bought some plain white shirts. The dyes were easy to mix and there was plenty of dye left over when we had all done. The dye is very vibrant when it goes on and fades a little after first washing. This kit would be great for a party just make sure you cover everything (!) including wearing the gloves provided. And make sure you add enough dye to sink right through the cloth. I would buy it again.
S**T
Expensive but worth the smile on a kids face.
Trustpilot
4 days ago
1 week ago