

💅 Elevate your nail game with strength, style, and sustainability!
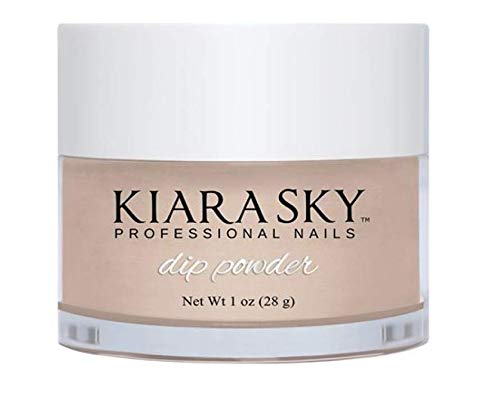
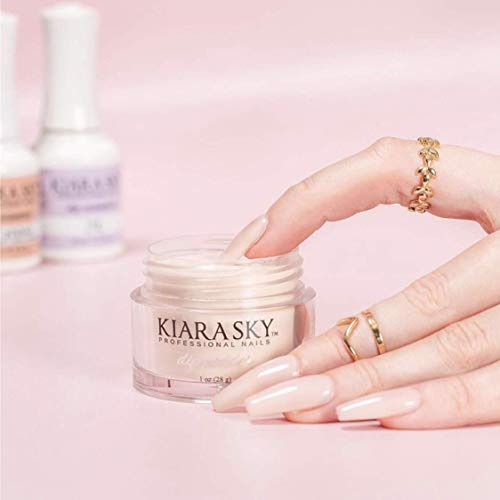
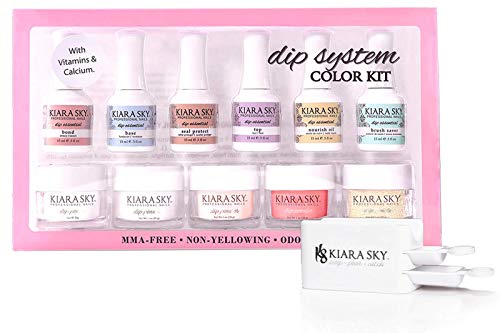
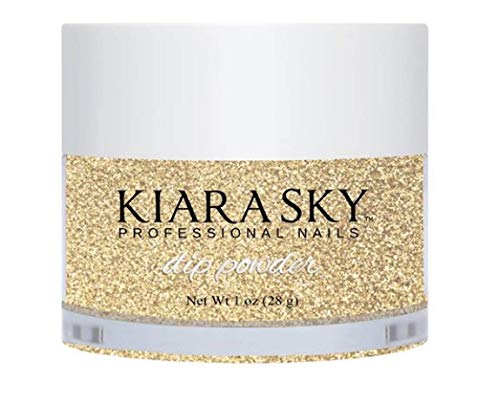
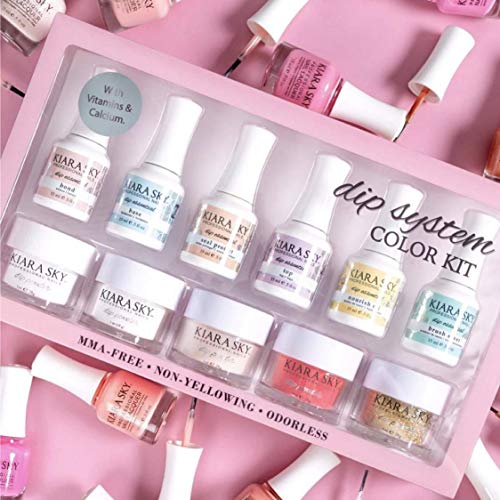
The Kiara Sky Color Dip Powder Starter Kit offers a professional-grade, easy-to-use dip powder system that strengthens and beautifies nails with a natural, lightweight finish. Featuring a fast-drying activator and an eco-friendly recycling system, this kit is designed for durable manicures lasting up to two weeks. Perfect for DIY enthusiasts aiming for salon-quality results, it’s recognized as a top beauty product by INSIDER Beauty.


| ASIN | B07Q599R17 |
| Best Sellers Rank | #77,524 in Beauty & Personal Care ( See Top 100 in Beauty & Personal Care ) #46 in Dip Manicure Kits |
| Customer Reviews | 4.0 4.0 out of 5 stars (5,538) |
| Manufacturer | Kiara Sk |
| Package Dimensions | 15 x 7.36 x 2.17 inches; 2.16 Pounds |
L**Y
This kit ate
So this is my second kiara sky kit. I’d say i’ve done maybe 10 sets so far and it has helped strengthen and grow my nails a LOTTTT. my last kit had issues with being gloopy and hardening. That was because of application errors and me just not really knowing what i’m doing. It is important that the base (2) does not make contact with the powder. You can make sure of this by making sure you dust off as much powder as possible between layers. It is also important that the top coat (4) does not make contact with the activator (3). You must wait for it to completely dry and wipe it with a dry lint free wipe. It is also very important to follow the directions as closely as possible, though i would look into video tutorials tips and such as well. For my results I used the apex method. (to the best of my abilities because my nails are really flat) and painted about 2/3 down the nail, dipped in the french to make the smile line, and then the medium pink. Then i did 3 layers on top of that of the medium pink to soften the line and contrast of the french tip, getting closer to the cuticle with every dip. Before activating i cleaned up around the cuticle, this is important to make your manicure last and prevent lifting. Two thin coats of top coat on top leave you with a pretty smooth strong finish! It’s also good to regularly file so sharp edges dont catch and cause lifting. If lifting occurs it’s time to soak off your nails and reapply. Dont rip them off! and make sure u soak of your nails as soon as you can to avoid a fungal infection I love this kit it is definitely of great value. I recommend it to anyone who wants a strong, cheap, home manicure that is stronger than acrylics. I would say this is for the intermediate to advanced DIY nail tech and takes a bit of research and a lot of patience to get it justtt right. It has helped me grow my nails and just looks so beautiful on!! I have not had a single nail break since purchasing my first kit. 6/5 stars from me
K**S
Easy to use. Beautiful results.
I really like this system. It is quick and easy, and the results are beautiful, even the first time you do it. I used it on natural nails, which tend to split and have areas of soft spots (peeled? Not sure. Maybe just old.) Don’t be put off by the number of steps—it isn’t as bad as it looks once you get started. Make sure you lightly buff the shine off your nails. The first step is just dehydrating, so you can do all nails at once. If you have attached nail extensions, you don’t put this on them, just on your natural nails. Next, you use the base, which is essentially glue to make the acrylic stick. Do one coat of natural, so the colored powder won’t stain you nails. Cover the nail with base, then gently dip at a 45 degree angle into the powder. Wiggle your finger around a bit to make sure the powder gets all over the nail, then gently remove the nail from the powder. Flick the back of you finger with your other hand to knock off the excess, and go to the next nail. Be aware that the powder is extremely fine, and when the jars are full, spilling it is inevitable. Use paper towels under the jars. After all the nails on one hand are done, you are ready for the colored powder. Again, cover the nail with base, then dip into the powder, flick off excess and move on to the next nail. Do this twice. When you are sure all the nails are “set”— a couple of minutes—take a soft brush and dust off your nails. Then do a coat of clear powder on all the nails in the same manner. This protects the color when you file them. (You can pour the powder on rather than dip, if you prefer. Pouring is best for the clear coat, so the powder doesn’t get contaminated by other colors. A pouring boc comes with the kit.) Next, use the activator to cure the nails. Slather it on to make sure it penetrates all the layers. The color will darken when it gets saturated. Let it dry (really fast) then take a nail file and smooth any bumps or thick parts, and make sure to file gently near the cuticle so there isn’t a ledge when your nails grow. There shouldn’t be a whole lot of filing needed—it goes on really smooth. When you are satisfied, rinse your hands with water or an alcohol pad, to get the dust off. Don’t use soap—you aren’t done yet and don’t want oily junk on the nails, yet. Then go over each nail again with the activator, and wipe off any excess. I use felt pads, but anything lint free is good. Do not wait too long to do the top coat, because it needs the activator to cure. It says to use quick, light strokes, but the first time I took that a bit too much to heart and it didn’t look as good as it could have. Just put it on like nail polish and you should be fine. When it dries, add another coat, let it dry for a couple of minutes, then you are ready to do your other hand. After you have finished both hands, slather on the cuticle oil and massage it in. And you are done! The other bottle is brush cleaner. I just switch out the brushes. The first time, I did red nails with gold accents. This time I did Tahitian Princess, which I highly recommend. (In picture) Soak the nail off with pure acetone. I also use the Hands Down nail wraps covered by a disposable glove to soak off, as you can still function while you wait. It took 15 minutes, and an orange stick. The finished nails are thicker than natural nails (which I want!), but not reall any thicker than a gel manicure. But it might take some getting used to. The odor is minimal. If your nails grow quickly, it will last two weeks, longer if they grow slowly. You probably could go a fill in, but I was itching to use the Tahitian Princess, so I did not try. In addition to the kit, nails files/drills are needed (180 grit files work great), a cuticle pusher/spoon, and a soft brush are needed.
K**K
El top coat es horrible!!!! Lo apliqué, luego lo limpie antes de volverlo a meter, y YA ESTABA TIESA LA BROCHA! Por lo tanto, el top coat ya quedo horrenda la aplicación. En mi primera aplicación del kit, ya me lleve 2 brochas!!! Y NO es la primera vez que hago dipping. Fatal!!!!! Además, abría los barnices y me quedaba con el mango en la mano y la brocha adentro entonces me llene de producto en los dedos y fue dificilisimo quitarlo!! Pésima calidad.
G**E
NO HE RECIBIDO MI PRODUCTO !!!
R**D
The nail polish was dried out and unusable
Trustpilot
2 days ago
2 months ago


