

Buy anything from 5,000+ international stores. One checkout price. No surprise fees. Join 2M+ shoppers on Desertcart.
Desertcart purchases this item on your behalf and handles shipping, customs, and support to Kyrgyzstan.
๐ต Elevate your DIY audio game with plug-and-play power!
This dual-pack MP3 Player Module is designed for seamless integration with popular microcontrollers like Arduino, ESP32, ESP8266, and Raspberry Pi. Featuring a 3.5mm aux output and micro SD card slot supporting MP3 and WAV formats, it offers versatile, high-quality audio playback powered by a 3.2-5.2V supply. Backed by comprehensive tutorials, itโs the perfect tool for makers seeking quick, reliable sound solutions.
| ASIN | B0CF593SWY |
| Best Sellers Rank | #625 in Single Board Computers (Computers & Accessories) |
| Date First Available | August 9, 2023 |
| Is Discontinued By Manufacturer | No |
| Item Weight | 0.634 ounces |
| Item model number | DIY-MP3-PLAYER |
| Manufacturer | DIYables |
| Package Dimensions | 4.13 x 2.91 x 0.67 inches |
T**H
Player is Perfect
This module works as advertised straight out of the packaging. Seems lots of people have issues? Had it working in mere minutes. Just follow the DIYables Tutorial on newbiely website. It's all explained, with fully working sketch. Tutorial is in brief format and I would have liked a bit more explanation of the frame[ ] commands . Don't understand someone's comment about TX-TX and RX-RX. As expected, wiring TX to RX and RX to TX works fine. Also, you can mix and match mp3 and wav files with no problem. I was using 44KHz files.
A**R
Bought the first mp3 module i saw without researching.
4 stars because it's my fault I didn't research better, finicky little unit that is not what you want to add audio to your project, but it is a functional mp3 player that can be controlled by your project, it just can't communicate with your project making displays pointless and integration finicky. They work, but there are better options.
R**B
Works Fine, but be aware
Like others, my RX and TX were mislabeled. So, my wiring actually ended up looking like this: RX-------------RX TX-------------TX which is not conventional for UART. Second, make sure that your microSD card is FAT32 format, and also the max capacity of the card should be less than 32GB. I was not able to use files until I found a smaller capacity card then the one i had, and used Rufus to reformat it.
M**E
needs better documentation
Works well when you figure out the protocols! Not intuitive at all. Difficult to get running with a microprocessor controller
B**H
Good Item
Haven't used!
J**S
It works but read the reviews for troubleshooting and save yourself some frustration!
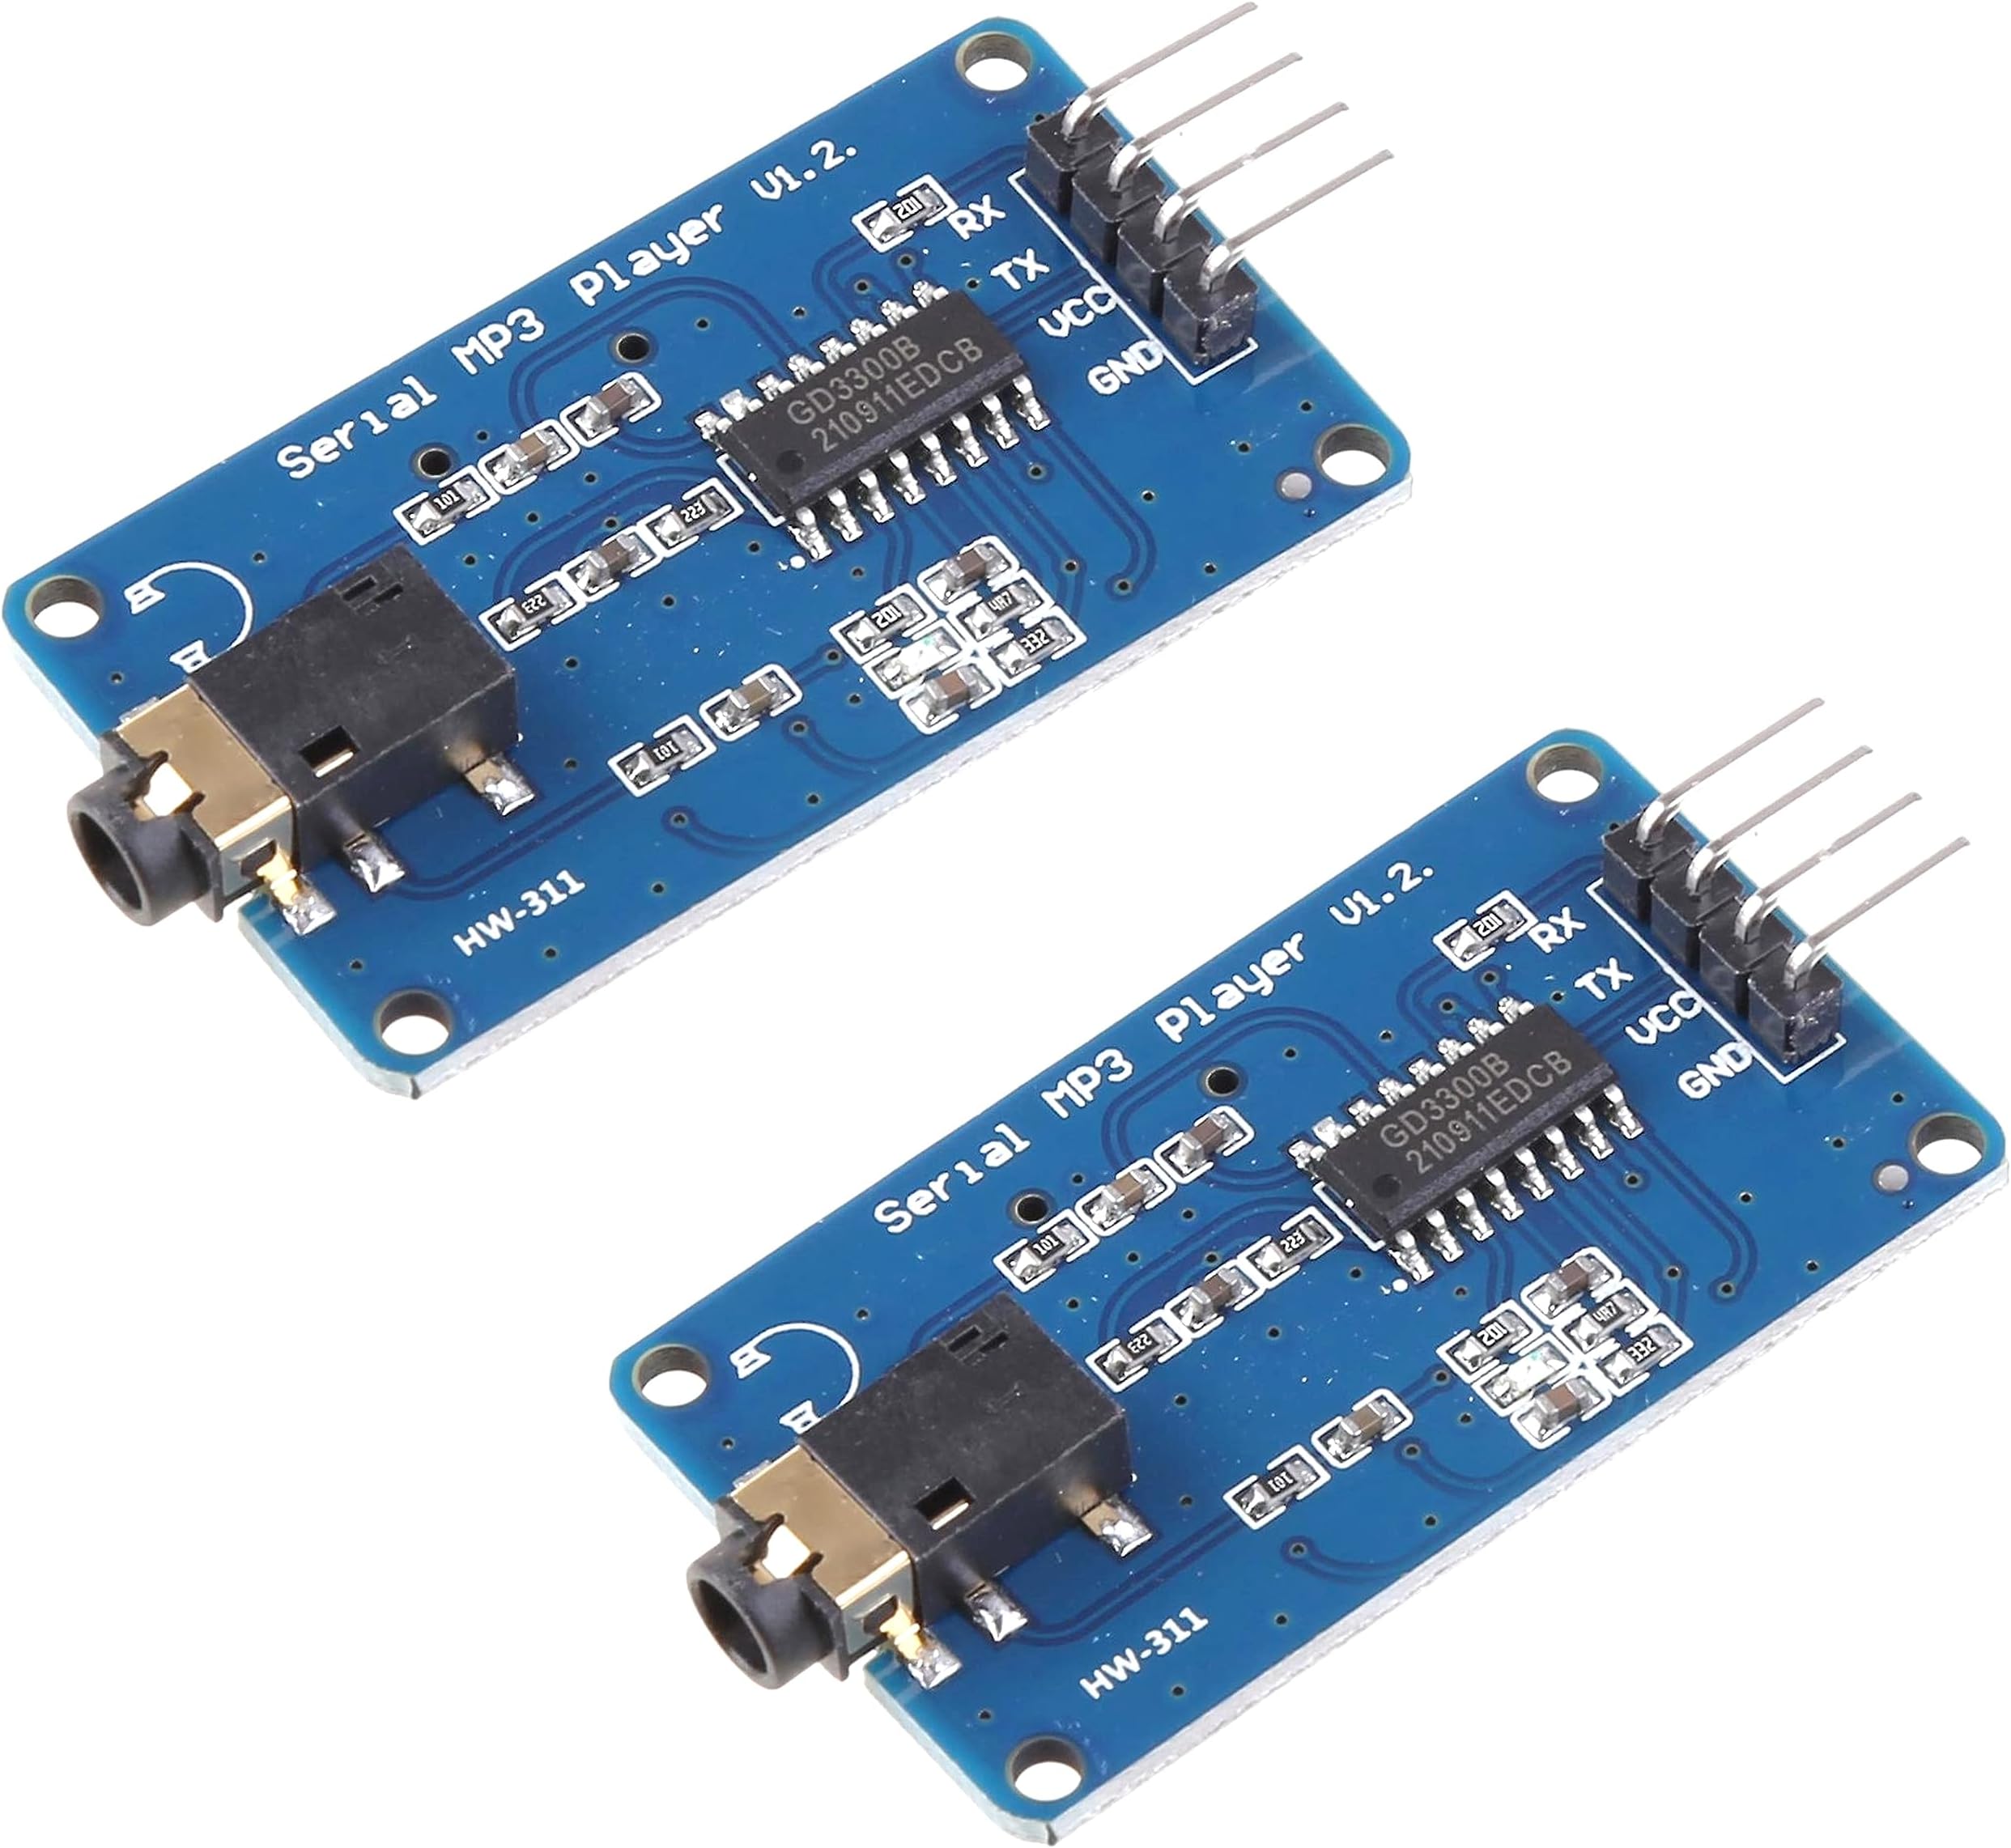
So it works great, but with a couple caveats. As mentioned by several others, my TX and RX were also mislabeled. I had to wire it so RX -> RX & TX -> TX. Normally you would wire it the opposite way with RX going to TX (which is how the instructions tell you to wire it). It says the board will run off 3.3v, and it will, but it won't play any sound until you connect 5v. Between this and the TX/RX issue it was a frustrating process to get this thing playing but once I did, and I adjusted the volume output, it sounded pretty good. It's maybe worth noting that the files are played in the order you paste them into the disc, NOT in numerical order. So if you paste file 3 and then file 1, file 3 will play first, etc. Reading through the sample sketches, it would appear that the instructions for labeling the tracks aren't correct. It tells you to name them "0", "1", etc. But the code appears to be looking for "0000", "0001", etc. This may be an issue with selecting specific tracks but I haven't made it that far yet.
A**R
DIYables MP3 Player Module
These modules work well. Other reviewers are saying the Rx and Tx pins on the module are labeled wrong. Those reviewers are wrong - don't do what they are saying. If you look at the source code you will see which Arduino pins to connect to the Rx (pin 7 on UNO) and Tx (pin 6 on UNO) pins on the module. If you look closely at the wiring diagram in the online tutorial you will see the correct connections also.
H**K
UPDATE: Got it to work, limited information available
Spent hours trying to get these to work. No Documentation. Even tried simply powering it on with SD card in and nothing. Tried every naming convention for the SD card. Even found an old 2 GB card to try. This was a bust. Edit: I want to walk this review back a little bit. I was using a ESP8266 and could not find anything to help me with this YX5300 version 1.2! I have uploaded a couple pictures and the video is testing FM broadcast for a Halloween "show" we plan to do this year. Two huge issues. First, the Rx and Tx pins are backwards on all of these units. This was infuriating. Second, (this is strictly with ESP8266) do not use software serial. Use GPIO 1(TX) and 3 (RX). This was the only way I could get it to work. Remember to pull these connections prior to uploading a sketch... Also, ignore any information about naming conventions (other than folders). The player plays the songs in their order, regardless of their name. Last thing, snag the Serial MP3 Player library and you should be good to go. Here is the basic "play the first song" snippet. Just remember, since it is backwards, TX to TX and RX to RX (so weird). #include "SerialMP3Player.h" // Use GPIO pin numbers directly for TX and RX #define TX_PIN 1 // GPIO 1 (TX) #define RX_PIN 3 // GPIO 3 (RX) // Create the MP3 player object with the correct pin assignments SerialMP3Player mp3(RX_PIN, TX_PIN); void setup() { Serial.begin(9600); // Start hardware serial communication for debugging mp3.begin(9600); // Start communication with the MP3 player delay(500); // Wait for MP3 player to initialize mp3.sendCommand(CMD_SEL_DEV, 0, 2); // Select the SD card delay(500); // Wait for SD card to initialize } void loop() { mp3.play(); // Play your first mp3 delay(3000); // Wait 3 seconds before repeating }
Trustpilot
2 weeks ago
4 days ago