


Buy anything from 5,000+ international stores. One checkout price. No surprise fees. Join 2M+ shoppers on Desertcart.
Desertcart purchases this item on your behalf and handles shipping, customs, and support to Kyrgyzstan.
🚗 Stick with the best—mirror your drive with confidence!
Loctite 37438 Rearview Mirror Adhesive Kit is a professional-grade, OEM-approved bonding solution designed to permanently reattach rearview mirrors to windshields. Featuring a fast-curing gel formula that achieves handling strength in seconds and full bond in 15 minutes, it is trusted by major automakers like GM, Ford, and Daimler-Chrysler. The kit includes both primer and adhesive, ensuring a durable, water-resistant bond on metal and glass surfaces for reliable, long-lasting mirror mounting.
| ASIN | B000VNAIQ2 |
| Best Sellers Rank | #70,550 in Automotive ( See Top 100 in Automotive ) #111 in Body Repair & Restoration Adhesives |
| Brand | Loctite |
| Brand Name | Loctite |
| Color | Clear |
| Compatible Material | Metal |
| Container Type | Tube |
| Customer Reviews | 4.0 out of 5 stars 2,635 Reviews |
| Full Cure Time | 15 Minutes |
| Global Trade Identification Number | 00079340374386 |
| Included Components | Primer and Adhesive |
| Item Form | Gel |
| Item Package Quantity | 1 |
| Item Type Name | Adhesive |
| Item Weight | 0.02 Pounds |
| Manufacturer | Loctite |
| Material | Glass, Metal |
| Material Type | Glass, Metal |
| Model | 37438 |
| Number of Pieces | 2 |
| Other Special Features of the Product | High Quality, Meets OEM Standards, Fast Bonding |
| Part Number | LOC487865 |
| Special Feature | High Quality, Meets OEM Standards, Fast Bonding |
| Specific Uses For Product | Windshield |
| UPC | 079340213517 079340374386 |
| Viscosity Level | Medium |
| Volume | 0.3 Milliliters |
| Water Resistance Level | Water Resistant |
S**S
Breaking the Seal and following the instructions...
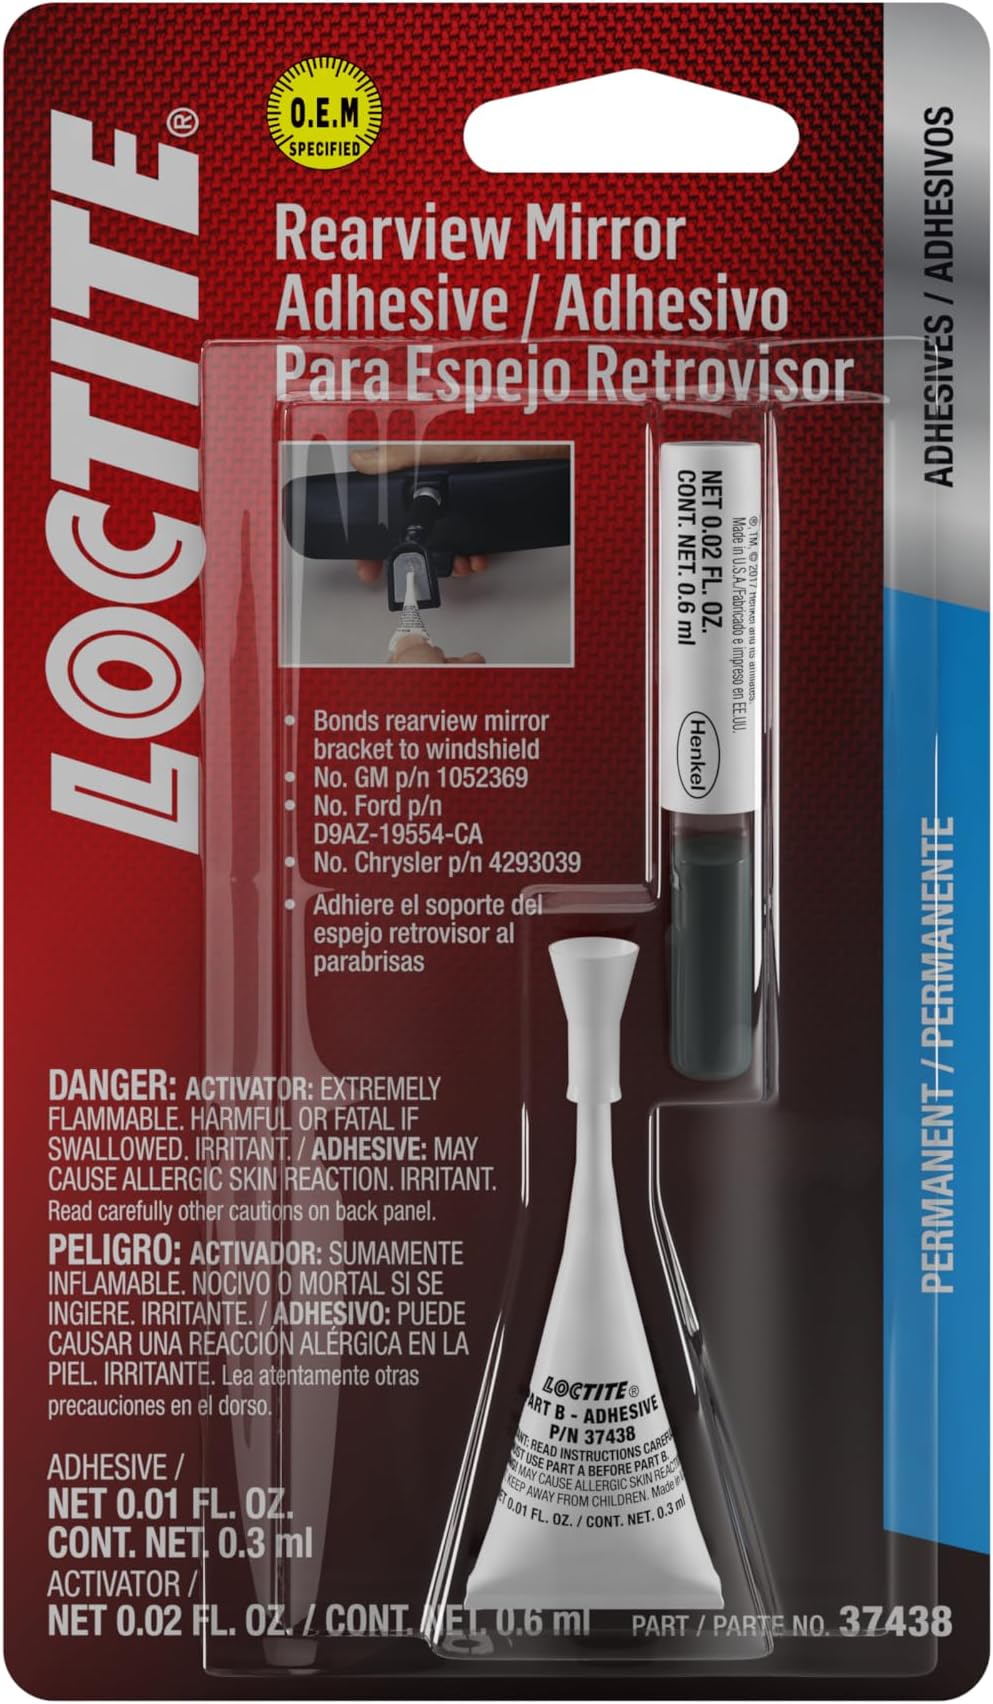
The rearview mirror on my 2001 Jeep fell off sever years ago. I don't drive often anymore. I bought a light plastic mirror from Amazon and installed in my Jeep... not the best option. I did eventually get it to adhere to the window, but eventually my Aussie knocked the mirror off... so for the past year, I've tried to reapply the plastic mirror, which would remain attached for a few days and fall off, basically I've had no mirror for the past year, but since I don't drive much, wasn't an issue... but because I don't drive, the battery went dead and I had to apply the trickle charger for a few days and now that I have the battery recharged, I will try to keep the battery charged by driving a few times a week, but to do so, I need a rear view mirror. So I decided not the purchase another mirror but to try to reattach a mirror. I still have the original mirror, but it is heavy. I also have a mirror similar to the original but lighter that attaches like the old mirror, so I decided to attach this mirror. I did some research and determined how to reattach a mirror and this adhesive Kit was one of my options. The kit was also less expensive than a new mirror. So, to make a long story short, I bought the kit and yesterday (10-16) I made my attempt to reattach the lighter replica of the original mirror. I read the instructions 4 or 5 times. I did several dry runs to make sure I was getting everything in it's proper place and that I was applying the glue to the appropriate side, etc., etc.... One of the instructions was to squeeze the Part A activator ampule until the vial breaks. There is a small sponge on the top of the ampule and after observing the ample for a few minutes, it was apparent that the "vial" separates the liquid activator from the sponge and I should squeeze the ampule at the top near the sponge to break the vial, and after several minutes of squeezing the ampule, the vial didn't break. I squeezed some more with no success, so I found small pliers and used the pliers to gently squeeze the ample near the top and after a few attempts, the "vial" broke. I could see the broken vial in the ampule. I had cleaned the window as instructed and also the holder that I glued to the window. I applied the activator as instructed to the window and the mirror holder. I waited 5 minutes as instructed. I then applied the glue to the holder, making sure the holder was in the proper position and held against the window for 1 minute. I could actually see the glue harden around the edges of the holder. After 1 minute the holder appeared to be firmly affixed to the window. I slide the mirror in place and made several adjustments on the mirror with absolutely no movement from the holder now firmly affixed to the window. This was yesterday. All appears to be a go with the mirror now firmly attached to the window.
F**H
FOLLOW the DIRECTIONS on package
Well engineered two step process. Read the directions as site prep is critical. The crush tube of the aromatic cleaner works excellent. Have a new flat razor blade to remove old adhesive on the window and mirror tab. Confirm proper placement of mirror tab prior to the one drop of adhesive. Hold for a couple minutes. leave it alone for half an hour in warm weather Reinstal mirror carefully and don't overtighten.
C**A
Doesn’t work
Absolutely worthless. Followed directions. Held in place for 3x the required time. Did not stick let alone hold.
P**P
5 Stars for an Awesome Product
I bought this after failing to attach a mirror with Permatex 81844 Professional Strength Rearview Mirror Adhesive . Here's what I did to replace my rear view mirror: 1. Trace the orientation of the metal button on the outside of your windshield with crayon or washable marker. 2. Remove any old glue residue from the windshield and metal button (from your rear view mirror) with a thin razor blade. Anything thin and flat will do. 3. Use sandpaper on the metal button to help the glue adhere to it. Sanding a quick cross-hatch pattern on the button should be enough. 4. Put latex gloves on. 5. Wipe the button and the area on the windshield with isopropyl alcohol to remove anything left over. Don't touch the windshield or metal button with your bare hands at this point (your skin's oil can interfere with the glue, hence the gloves). 6. Wait a few minutes for the alcohol to dry. 7. Open the adhesive kit and break the included glass vile. Apply the contents within the glass vile to the area on the windshield and on the rear view mirror's metal button. 8. Wait a few minutes for it to dry. 9. Open up the glue. ONLY apply to the rear view mirror's button (about a third of a dime's size). QUICKLY attach the button to the mirror. If you wait, the glue may not stick. This step is important. I waited with the Permatex 81844 Professional Strength Rearview Mirror Adhesive because I thought letting it get tacky would be better (like with most glues), but it doesn't work with this glue. Just attach the button to the mirror as fast as you can and hold it there for a minute. PLACE IT IN THE CORRECT ORIENTATION. It'll be a nightmare if you get it wrong. 10. Wait at least 15 minutes if you are in a rush to get the mirror up. I waited 24 hours before I attached my mirror. Voila! That's how I did it. The Permatex adhesive probably would have worked if I didn't wait for it to get tacky. Also, wait for a hot day so your windshield is warm. I think this helps with the bonding (not 100% sure). A little heat from a heat gun will help too if this is true. I think my car will break down before the mirror falls off again.
W**T
Worked on 2nd Attempt
The mirror fell off both my vehicles recently and I tried the Permatex and also one from an auto parts store with an attached adhesive pad, and had no luck with wither. I purchased this after reading the reviews. I received a failure and a success by using two methods of installation. On the first vehicle I followed the instructions to the letter. I didn't sand the button like many people do, but I did thoroughly scrape and clean the button and the windshield very well. I applied the activator liberally to the windshield and button. Actually I used up all of the blue liquid in the vial and then let it dry for a good 5 minutes. The instructions said to place "a drop" of the adhesive on the button and immediately put it on the windshield and apply pressure for one minute. Looking from the outside, I could see that it didn't cover the entire button's surface. After 30 minutes of waiting I put the mirror on. It held, but only for a few seconds until I tried to adjust it. On the second vehicle I scraped, cleaned, and applied the activator has I had the first time. But this time I applied a lot of adhesive to the button - as much as I could squeeze out of the little bottle in one go. I put it on the windshield and held it firmly in place for 1+ minute. A lot of it squeezed out over the edges, but after 30 minutes of waiting I put the mirror on. It's held for over 24 hours, which is significantly more than any other solution. It's hard to tell if or when it will fall off again, but so far so good. I suppose I could scrape or chip away the excess adhesive that oozed out when I used a lot, but it's not annoying enough to make the effort. I'm just happy that it's working so far. Update: I purchased another adhesive kit and re-attached the mirror on the 2nd vehicle using more of the adhesive. It's been several weeks and it's still holding on both vehicles. So far so good!
D**.
Reattaching A Rearview Mirror with Loctite kit
I followed the written instructions carefully, with one exception - rather than one drop of adhesive in the center of the metal mirror button that glues to the windshield, I applied and then with a clean toothpick quickly distributed a thin even layer of adhesive to the entire surface of the thoroughly cleaned and ''activated'' metal button; & then quickly positioned the tab on the windshield. (Have materials positioned for easy access as there is very little "open time" for postioning the tab to the windshield before the glue sets.) Note: Applying the activator as instructed is critical for good adhesion to the glass. Based on previous experience distributing the adhesive across the surface of the "mirror button" provides the strongest durable bond. So far very pleased with results; whereas previous attempts to use other excellent adhesives alone failed - the mirror button would detach from the glass after a short time, leaving the adhesive bonded to the metal button only. Product Delivery was very prompt from R/A Hoerr Co.
D**K
Good quality
Fooling around in the car, bounced her head off the mirror and it hit the floor. Usually don't care where I've been only care where I'm going, but I guess it's a "legality" in some states to have a rearview mirror. I decided to reattach it. I believe this might be better than factory, have bounced her head off of it several times and it's still hanging in there.
S**D
Refund information, please.
Product in second order worked well. No answer from your company on how to get first shipment of product refunded. Please advise.
A**ー
信頼できる品質
修理工場でガラス交換と言われたBMWですがこれ1本で解決しました。 ガッチリと固定されて安心できます。 修理代数十万円の代替としては素晴らしすぎます!
K**C
Great product!
Bought this gasket maker for my project truck and it is highly recommended for those that need a gasket in a pinch!
K**.
Worked great
Been a couple months now and send to be holding well. Just happy to have a rear view mirror again
T**A
確実に接着する
さすが本物。少面積でも確実に接着します。説明書が英語で分かりにくく、アンプルを割って使ってしまいました。
と**し
最悪です。ここでは購入しない方がいいです!
20時間でくっつくとの事だったのですがつかなかったので、2度お問い合わせしたのですが、2週間たっても全く連絡いただけません。 こんな対応はじめてなので驚いています。
Trustpilot
3 weeks ago
3 weeks ago