


Buy anything from 5,000+ international stores. One checkout price. No surprise fees. Join 2M+ shoppers on Desertcart.
Desertcart purchases this item on your behalf and handles shipping, customs, and support to Kyrgyzstan.
๐ก Elevate your outdoor sanctuary with Norwoodโwhere durability meets design and power meets style.
The Backyard Discovery Norwood Gazebo is a 20x12 ft all-cedar wooden pavilion featuring a heavy-duty 29-gauge steel roof engineered to endure up to 12,600 lbs of snow load and 100 mph winds. It includes a patented PowerPort with 3 electrical outlets and 3 USB ports for seamless outdoor connectivity. Designed for easy assembly with pre-cut, pre-drilled, and pre-stained parts guided by the BILT app, this gazebo combines natural cedar durability with modern convenience and a 5-year warranty, making it a resilient and stylish addition to any backyard.


| ASIN | B0B7XXRSHL |
| Best Sellers Rank | #155,664 in Patio, Lawn & Garden ( See Top 100 in Patio, Lawn & Garden ) #483 in Gazebos |
| Brand | Backyard Discovery |
| Brand Name | Backyard Discovery |
| Color | Light Brown |
| Customer Reviews | 4.6 out of 5 stars 259 Reviews |
| Floor Area | 524 Square Centimeters |
| Frame Material | Wood |
| Item Dimensions L x W x H | 226.25"L x 129.25"W x 122"H |
| Item Type Name | FREESTANDING_SHELTER |
| Item Weight | 1145.2 Pounds |
| Manufacturer | Backyard Discovery |
| Manufacturer Part Number | 2207011 |
| Manufacturer Warranty Description | 5 Year Limited Warranty |
| Material | Cedar Wood |
| Material Type | Cedar Wood |
| Model Number | 2207011 |
| Product Dimensions | 226.25"L x 129.25"W x 122"H |
| Required Assembly | Yes |
| Shape | Rectangular |
| Style | Norwood |
| Style Name | Norwood |
| UPC | 752113207011 |
| Ultraviolet Light Protection | Yes |
| Unit Count | 1.0 Count |
| Water Resistance Level | Water Resistant |
J**E
SUPERBLY ENGINEERED KIT
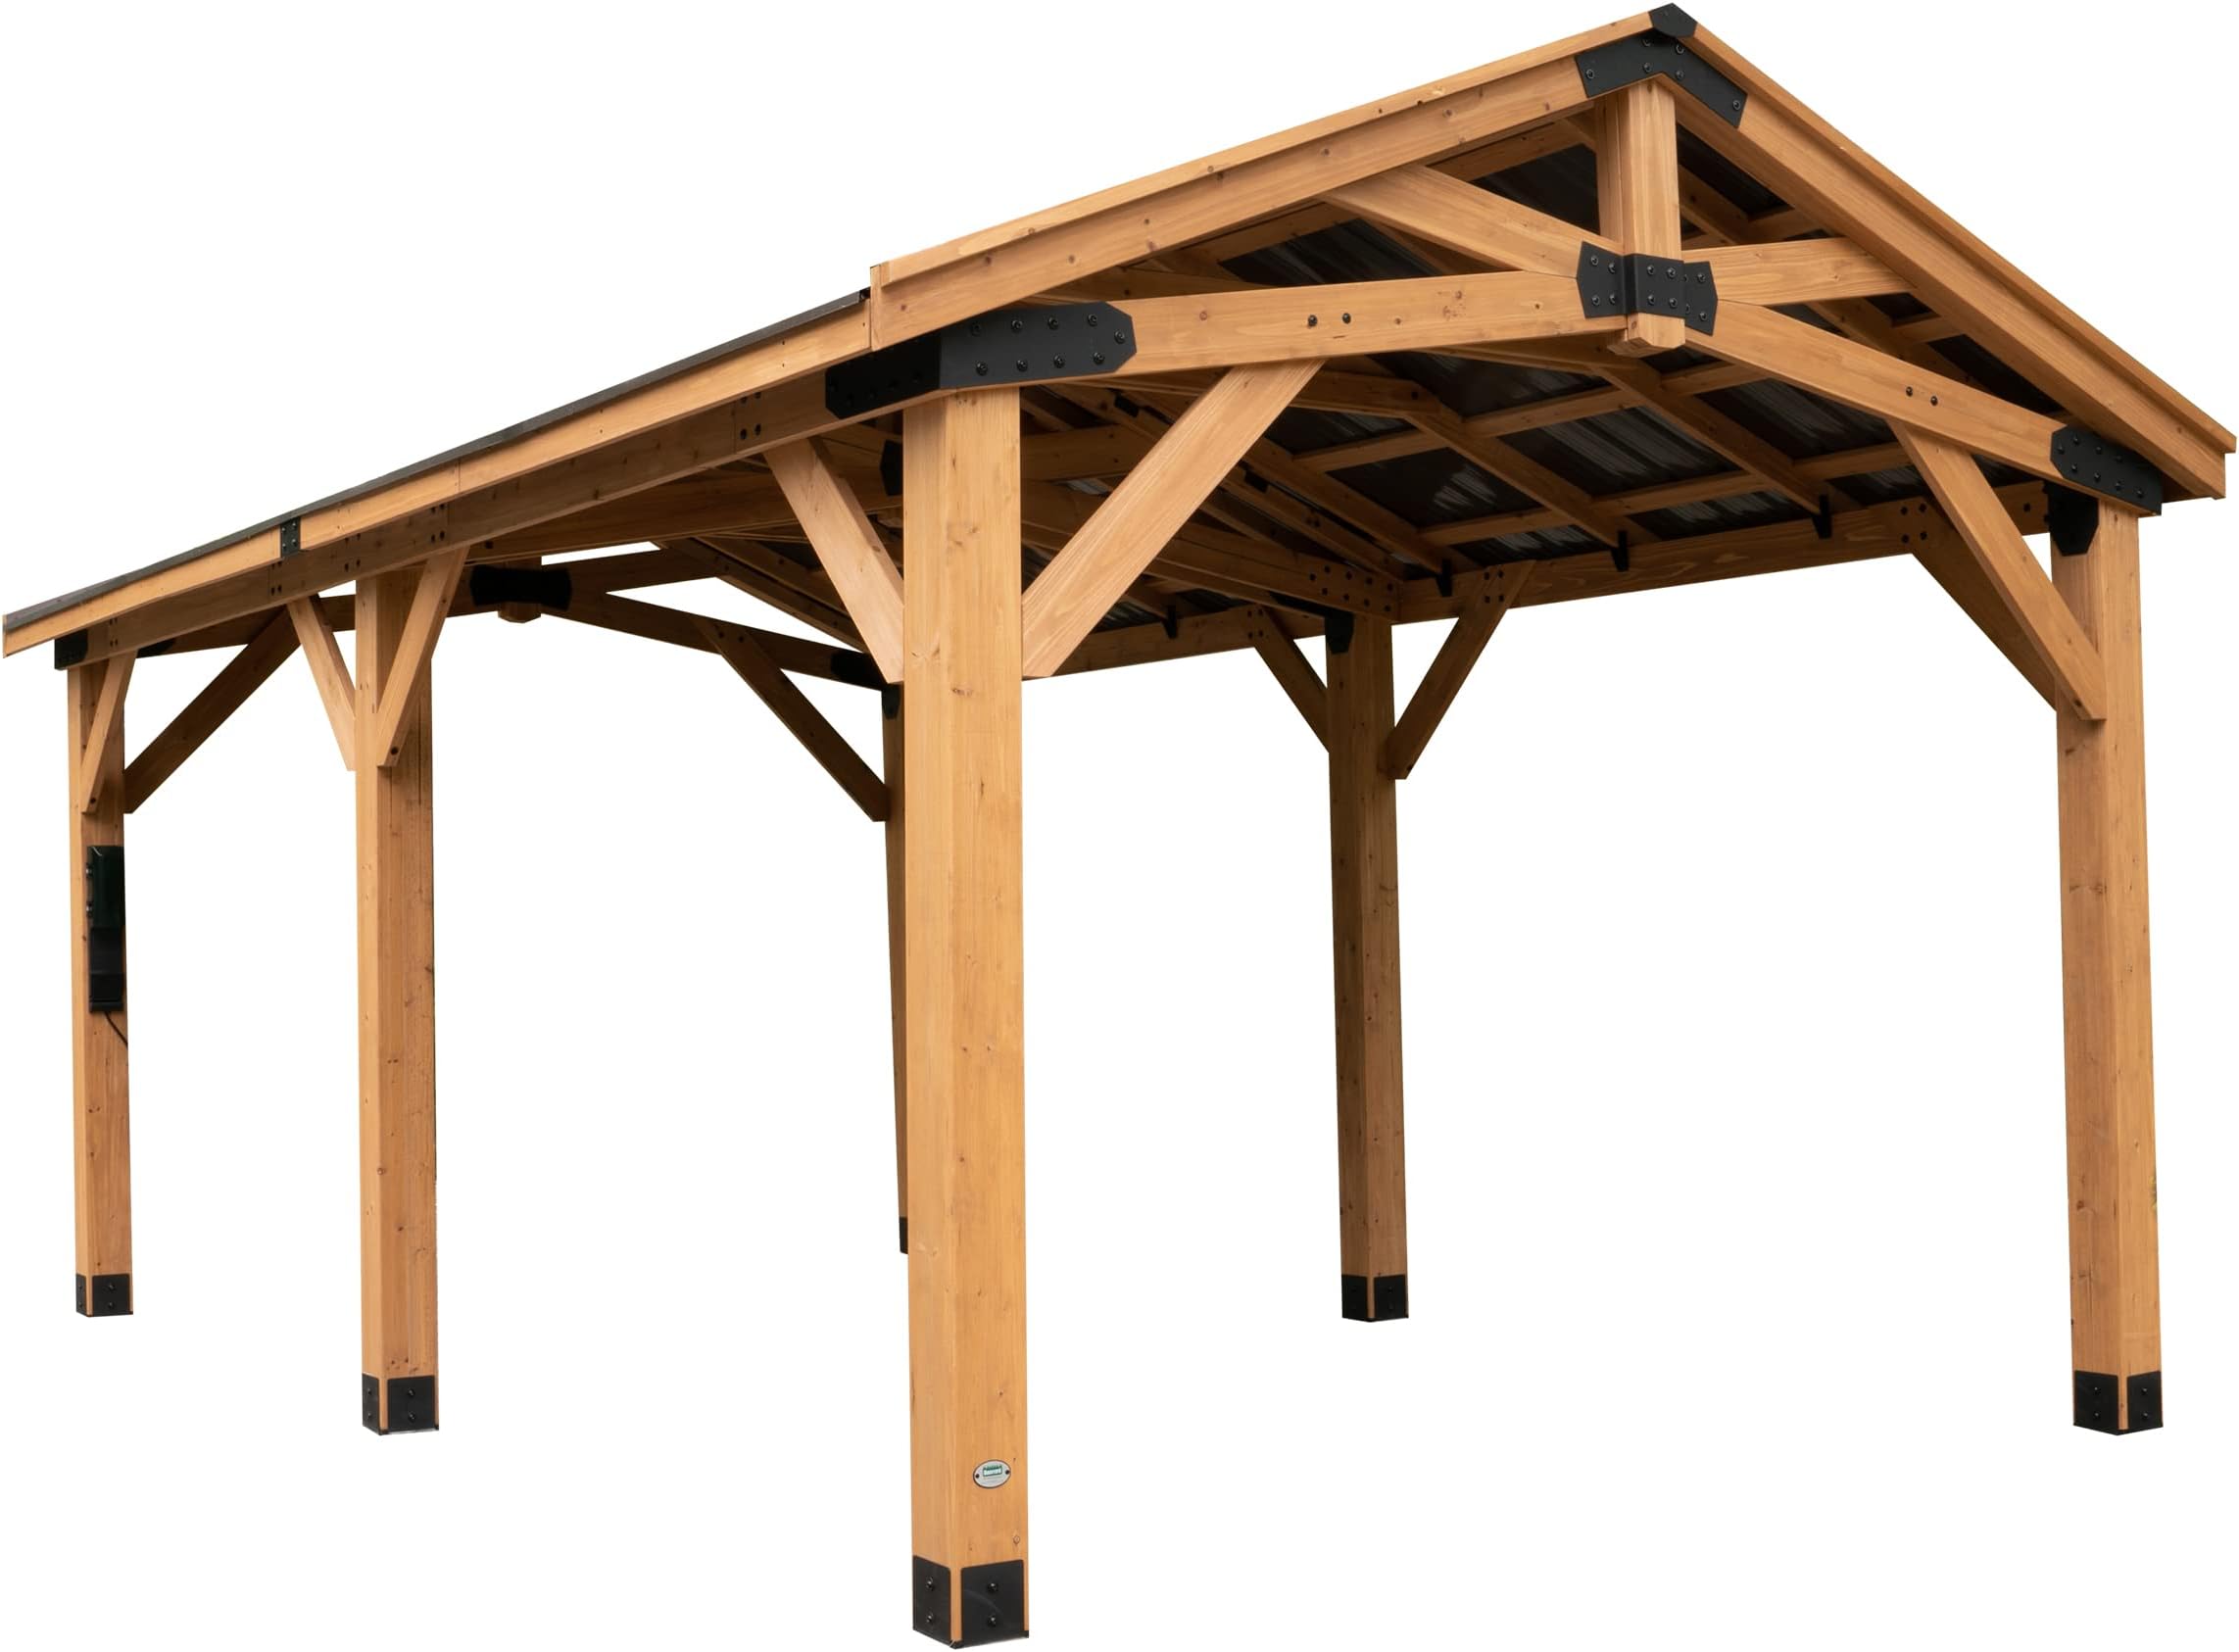
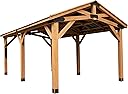
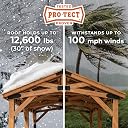
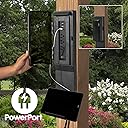
I bought the 20x12 NORWOOD. One of the major features that led me to ths product was the fact that the corrugations in the roof panels run from the peak to the eave, instead of the numerous competing products that have the corrugations running parallel to the roof peak - - incredibly-stupid - designed to HOLD snow rather than shed it. The other major feature was that it is evident from the pictures how attractive, well engineered, and sturdy it is. The kit was delivered in 8 separate cartons, all in the same shipment. Each carton was very-well packaged, very well organized, and individually inventoried. Every structural piece is identified with a number. The fasteners and connectors are packaged in well-labelled plastic bags. It pays BIG dividends to spend the time to unpack all the components (structural, fasteners, connectors) and organize them on flat surfaces before beginning construction (as shown in the pictures). I matched each item with the in-box inventory sheet as well as with the complete inventory in the instruction manual. I was only short a few fasteners, which the company replaced immediately. SUPER. I was VERY impressed with the quality of the kit, the excellent instructions, and the fact that all the hundreds of pre-drilled holes aligned perfectly. AND it pays big dividends to read through the instruction manual a couple of times to get familiar with the assembly process, component organization, and overall layout. THEN follow the instruction manual and the build should go well. As I did the assembly, it was evident how well engineered this structure is - designed and implemented with strength AND stiffness. I assembled it (mostly) myself over the course of about 2 weeks of part-time days. I needed help from a friend to lift the the four completed roof panels into place, but other than that, fundamentally a one-person job. I made one small engineering change: as shown in the picture, there is a diagonal brace added to each of the rear sections. I did that because the concrete pad on which I installed the carport is slanted down at about 2.5 degrees. The instructions are pretty explicit about building the kit with the columns set perfectly vertical. However, if I did that on a slanted surface, there would have been serious alignment problems with the horizontal components and the roof structure. So I built it perpendicular / parallel to the slanted surface, and then, to counteract any collapsing forces caused by a large snowload, I installed those diagonals (paired pressure-treated 2x6's on each side). {Snowload is a real issue here - one year, a single snowstorm COLLAPSED the roof on my work-van.}
E**K
The build.
We love our 12x16 pergola. It has a "state park" type look and feel. We ordered ours in June of '24, so we have seen all seasons. Here are some comments to things we saw in several reviews: 1). Kudos to the husband and wife teams that took on this build! You are amazing. My wife and have done lots of projects together and we took a pass on this one due to the overhead work and weight of structure (1,644lbs total). We hired a carpentry crew (5 man) and it took them a full day. 2.) Delivery: 6+ big boxes and not in your back yard. Delivery to curbside. Empty out 1/2 of your garage and get indoors prior to inclement weather. Furniture dolly or 4 wheel flat cart helpful. 3.) Comments about cedar: this is an engineered cedar product, not actual cedar board from a mill. The 6x6 posts are hollow. If they were not you wouldn't be able to pick them up. A good analogy would be Trex decking or composite patio furniture. The boards are straight, true and will last forever. 4.) We used 5-6 foldable party tables to arrange the hardware and boards adjacent to our build site and at waist height. They are all labeled in a manner such that you use (a) 1st, b 2nd ect. Ideally, your set up area should be 50% larger than the size of what you are building or you will be stepping over, tripping and wasting time. Unboxing and organizing took us 3-4 hours. 5.) Our installation was on an existing concrete patio that we leveled prior to installation. (Mud jacked). Kit includes brackets for tap con installation of 6x6's. We used vinyl planking cut into 6x6" squares to shim. Build must be plum. If installation is adjacent to an existing structure as ours was, account for overhang. 6.) Drip edge was not included and I was a bit surprised by that. I did not notice this until a heavy rain left the facia boards wet in areas. I resolved the issue when I installed gutters with screening. 7.) Cord for power pack is 24". Have a small extension cord at the ready to your outdoor GFI circuit. Some communities may require a permit for backyard construction like this and some HOA'S will not permit so again, research. We added a 42" fan with light kit to 1 of our roof supports upon completion. 8.) We've had 12" snows and several severe storms. No issues or leaks. We had no missing parts to kit. A few extras actually. Hope this helps. I will answer any questions posted to the community promptly. Enjoy! EK.
S**T
Huge project gonna need help
Gonna go with 3 stars for now it was just delivered today. I've only opened 1 box but it is packaged well 8 boxes total no visible damage so far. This thing is a beast of a project and I highly recommend treating all pieces with Thompson or similar. Sealant applied is pretty low grade and I figure seal everything now before assembly. overall I am pretty pleased so far will update and provide pics as I go along. Ok assembly is done. It will take at least 3-4 people to get the roof done. This is a huge project and it about kicked my butt. Make sure everything is square. This thing is solid heavy and sturdy. Overall for the price it am very happy. It is Chinese cedar so the wood is softer but with all the metal brackets this thing will last my lifetime. In my opinion we'll worth the price
B**E
Great design and quality
The 3d instructions on the BILT app were fantastic, and made assembly much easier. The materials are all high quality. We felt a little bad covering up the cedar with paint as it looks really good. However, we decided to make everything white to go with the beach house theme. The only part that was somewhat tricky was the roof panels. Make sure to leave things a little loose until you fully assemble and ensure everything is square. Even then, be prepared to adjust a bit when you put the panels up on the frame. We had some really big furniture framing clamps that helped to apply pressure in the right places to be fully square while we bolted down. Take extra care when assembling the center ridge beam with all the T nuts embedded in it. I didn't realize we missed a couple until trying to attach the roof panels and had to take everything down. The roof panels need at least 2 people go put up. I could lift one on my own, but the edges are sharp and the size makes it difficult. 3 or 4 people would be ideal. We did it with 2 people and some ropes for safety.
B**!
Pretty robust unit. Compared to what saw at Lowes
Pretty robust unit compared to what I saw at Loweโs It went together well But if youโre handy you can still build one yourself thatโs stronger and better made One thing I didnโt like is the roof edges and the Gables have wood exposed on top it doesnโt seem like it will hold up over the long haul even though itโs cedar should have a trim piece to cap it
J**S
Great Quality for the $$$
Gorgeous and sturdy
B**M
Wonderful Outdoor Living Room!
The bottom line is we love our new gazebo. It is like having a 2nd living room right out on our back patio and we are spending a ton of time out here. I'm actually sitting out here while it's raining lightly. The sound of the rain on the tin roof is super relaxing. Now here are the details. I do believe it helped us that my husband has a good amount of carpentry skills to put this gazebo together. There were some problems we ran into where a forklift ripped into one of the boxes and damaged the wood (see picture). According to other reviewers, if we had called they would have replaced the damaged pieces but we had scheduled time off of work for my husband to build this so we didn't have the time. He used wood glue to fix some things and some clamps to fix some warped pieces. I highly recommend doing a full inventory and organization of all of your pieces before you begin. We used some cardboard bins from Amazon for the hardware (see picture). He also applied a sealer before putting it together. He was able to do most of it on his own. The hardest part where he needed help from our teenage sons was lifting and installing the 4 large roof panels. It was very helpful to have a 2nd pair of hands for that step. It took some time to get the roof all aligned correctly but since completion there has been no leaking and it's water tight. Since the build we installed 6 sun shades purchased directly from Lowe's (see picture). They allow us to filter the sun as it moves across the sky, it provides more privacy and also protection from the weather. We haven't been through a snow filled winter with it yet but our "plan" is to lower the shades and to be able to keep our furniture outside in the gazebo through the winter. Hopefully it works out. We have been through some strong winds, up to 60 MPH and this thing didn't even budge and that makes us VERY happy. It's one of the major reasons we selected this gazebo as we experience microbursts here and there and needed something sturdy that can withstand the winds. So far so good with this gazebo. Hubby also ran a bunch of electrical off of the included power strip to run the lights, a fan and a projector (see pictures). We bought a simple cloth movie screen from Amazon that we hang on one end and it's the perfect outdoor movie room (see picture). As far as the instructions go we used BOTH the printed booklet and the BILT app. We found them both to be useful in combination. I rely on detailed reviews and I hope you find this one helpful. Bottom line we 100% recommend this gazebo.
M**N
this is a very well designed and ultra sturdy Gazebo
our product arrived as scheduled and was very well packed. We unpacked and organized all the contents of each box. We had no damaged or missing parts. WE followed the printed instructions, and they were straight forward and easy to follow. some advice would be to have 4 sawhorses available we only had 2 so we improvised. The unit is very heavy and needs to be built where you plan to place it.
L**I
Use the BILT app and the instructions
Really happy with how it turned out. Build quality is excellent Not difficult but is a big project. I did stain all the wood with a clear Oil based product in the heated garage because of the time of year. Did most everything myself except when it came to erecting the frames and installing the roof panels. Recommend 3 people for those steps.
W**S
High quality product
I have put together numerous products over the years and this was probably the best quality as far as precision drilling in the pre-cut parts. Package included extra nuts and bolts which were all of good quality. Very good instructions but make sure you follow them closely, especially the squaring of the roof panels. We tightened up the majority of the bolts as we assembled but in hindsight should have left more a bit loose until completely assembled then tightened them. Went to three different stores for recommendation on sealants and had three different recommendations. Went with Thompson Water Seal and happy with decision. It looks great.
S**S
Roof installation alternative
If you lack helpers, an alternative is to first install all 4 wooden roof frames separately, without the metal sheathing. It's even easier to bolt them together at this stage. Then, working from a ladder, you can add the metal panels individually accessing through the frame openings, following the manual's sequence. I was able to complete this solo using this method.
C**3
A real attention getter!!
As I was building it, so many people stopped right in my driveway to ask about it: where I got it, how much it cost, all the specs, etc. It's like they never saw a gazebo/carport before. At least 3 people I don't even know have actually had the nerve to come up to my door when I wasn't outside and knock to ask the questions. It is gorgeous, and you will have everyone in town noticing it. :-) I did a lot of research before making my choice, and even though I could find cheaper ones, I could not find any with the wind rating and snow load that this one has, so I think it's worth the extra money not to have to worry about it collapsing if I don't go out and clean off snow accumulation.
A**R
Very good product
I did not know it would turn out so nice. The whole carport is very robust, the quality of materials are very good. Just follow the instructions closely, and you will have no trouble putting it together.
Trustpilot
2 weeks ago
1 day ago