


🖨️ Network your print game — share, print, and conquer!
The Buffalo Network USB 2.0 Print Server LPV3-U2 transforms any USB printer into a networked powerhouse. Supporting USB 2.0/1.1 and 10/100 Mbps Ethernet, it enables quick, remote printing with easy web-based setup. Compatible with most OS platforms and backed by a 2-year warranty, it’s the smart, space-saving solution for modern offices craving seamless printer access.
| ASIN | B0009V5ZQ4 |
| Additional Printer Functions | Print Only |
| Brand | BUFFALO |
| Built-In Media | Napkins |
| Control Method | Remote |
| Customer Reviews | 3.4 3.4 out of 5 stars (46) |
| Dual-sided printing | No |
| Global Trade Identification Number | 00747464109510, 07474641095108 |
| Hardware Interface | USB |
| Item Type Name | Napkin |
| Item Weight | 544 g |
| Manufacturer | BUFFALO |
| Maximum Sheet Capacity | 150 |
| Model Name | Buffalo Network USB Print Server |
| Model Number | LPV3-U2 |
| Other Special Features of the Product | Network-Ready |
| Output sheet capacity | 100 |
| Print media | Labels |
| Printer Connectivity Type | Wired |
| Printer Output Type | Monochrome |
| Printer Type | USB |
| Specific Uses For Product | personal |
| Total USB 2.0 Ports | 1 |
| Total Usb Ports | 1 |
| UPC | 763615916240 777786029746 747464109510 163120579228 |
| Wattage | 500 milliamp_hours |
D**S
The unit works. Well, it does when I set it to use IP printing. Wouldn't when I set it to use Windows printing ... I've set up several brands of network routers, so I'm no novice when it comes to network hardware. But setting up this unit took a lot of time, figuring out what to set. The documentation is useless unless you use Windows, and wouldn't be very helpful at all if you did. My advice, even if you use Windows: forget the installation software. Just hook the unit up, point your web browser at it, and try settings until it works!
D**K
I am no computer genius, but I don't usually read set-up instructions. So, here's what I did to set up my printer with this server. I have a netgear router that I use for my broadband network. Once I plugged all the appropriate cables, I simply logged on to [...] Remember your username and password. Then, I just clicked on "Connected Devices." This shows all the devices that are connected to your router with MAC addresses. Find the printer server and write down the IP address the router assigned. Now, go over to "Printers and Faxes" in Control Panel and click "Add a printer." Select "Local printer attached to this computer" and unselect "Automatically detect and install my Plug and Play printer" in "Local or Network Printer." Click Next. Then, select "Create a new port" and select "Standard TCP/IP Port." Click Next. Enter the IP address you previously obtained from the router. Make sure your printer is on. This is what I did, and it worked for me. Surprisingly, I learned that multifunction printers are not supported after I bought this server. I was worried that it wasn't going to work with my Canon MF3220, a multifunction printer. The printer is not the most expensive one, but the server worked with it. I guess it is just that you have to be careful with which drivers to use. I noticed that there were several different drivers for MF 3220 for fax and scanning drivers. I just used the default print driver, and the server worked liked a charm.
福**生
中古なので送られた箱が少し開きかけていましたが、すぐに使いましたし、正常に作動しています。プリンターのネットワークボードが壊れていたので,USBにつなぎ使っています。快調です。
M**N
レビューにある通り、ネットワークケーブルを繋げたらDHCPで認識し、ドライバアプリケーションから直ぐに見つかりました。 安定して使えているので良かったです。
J**H
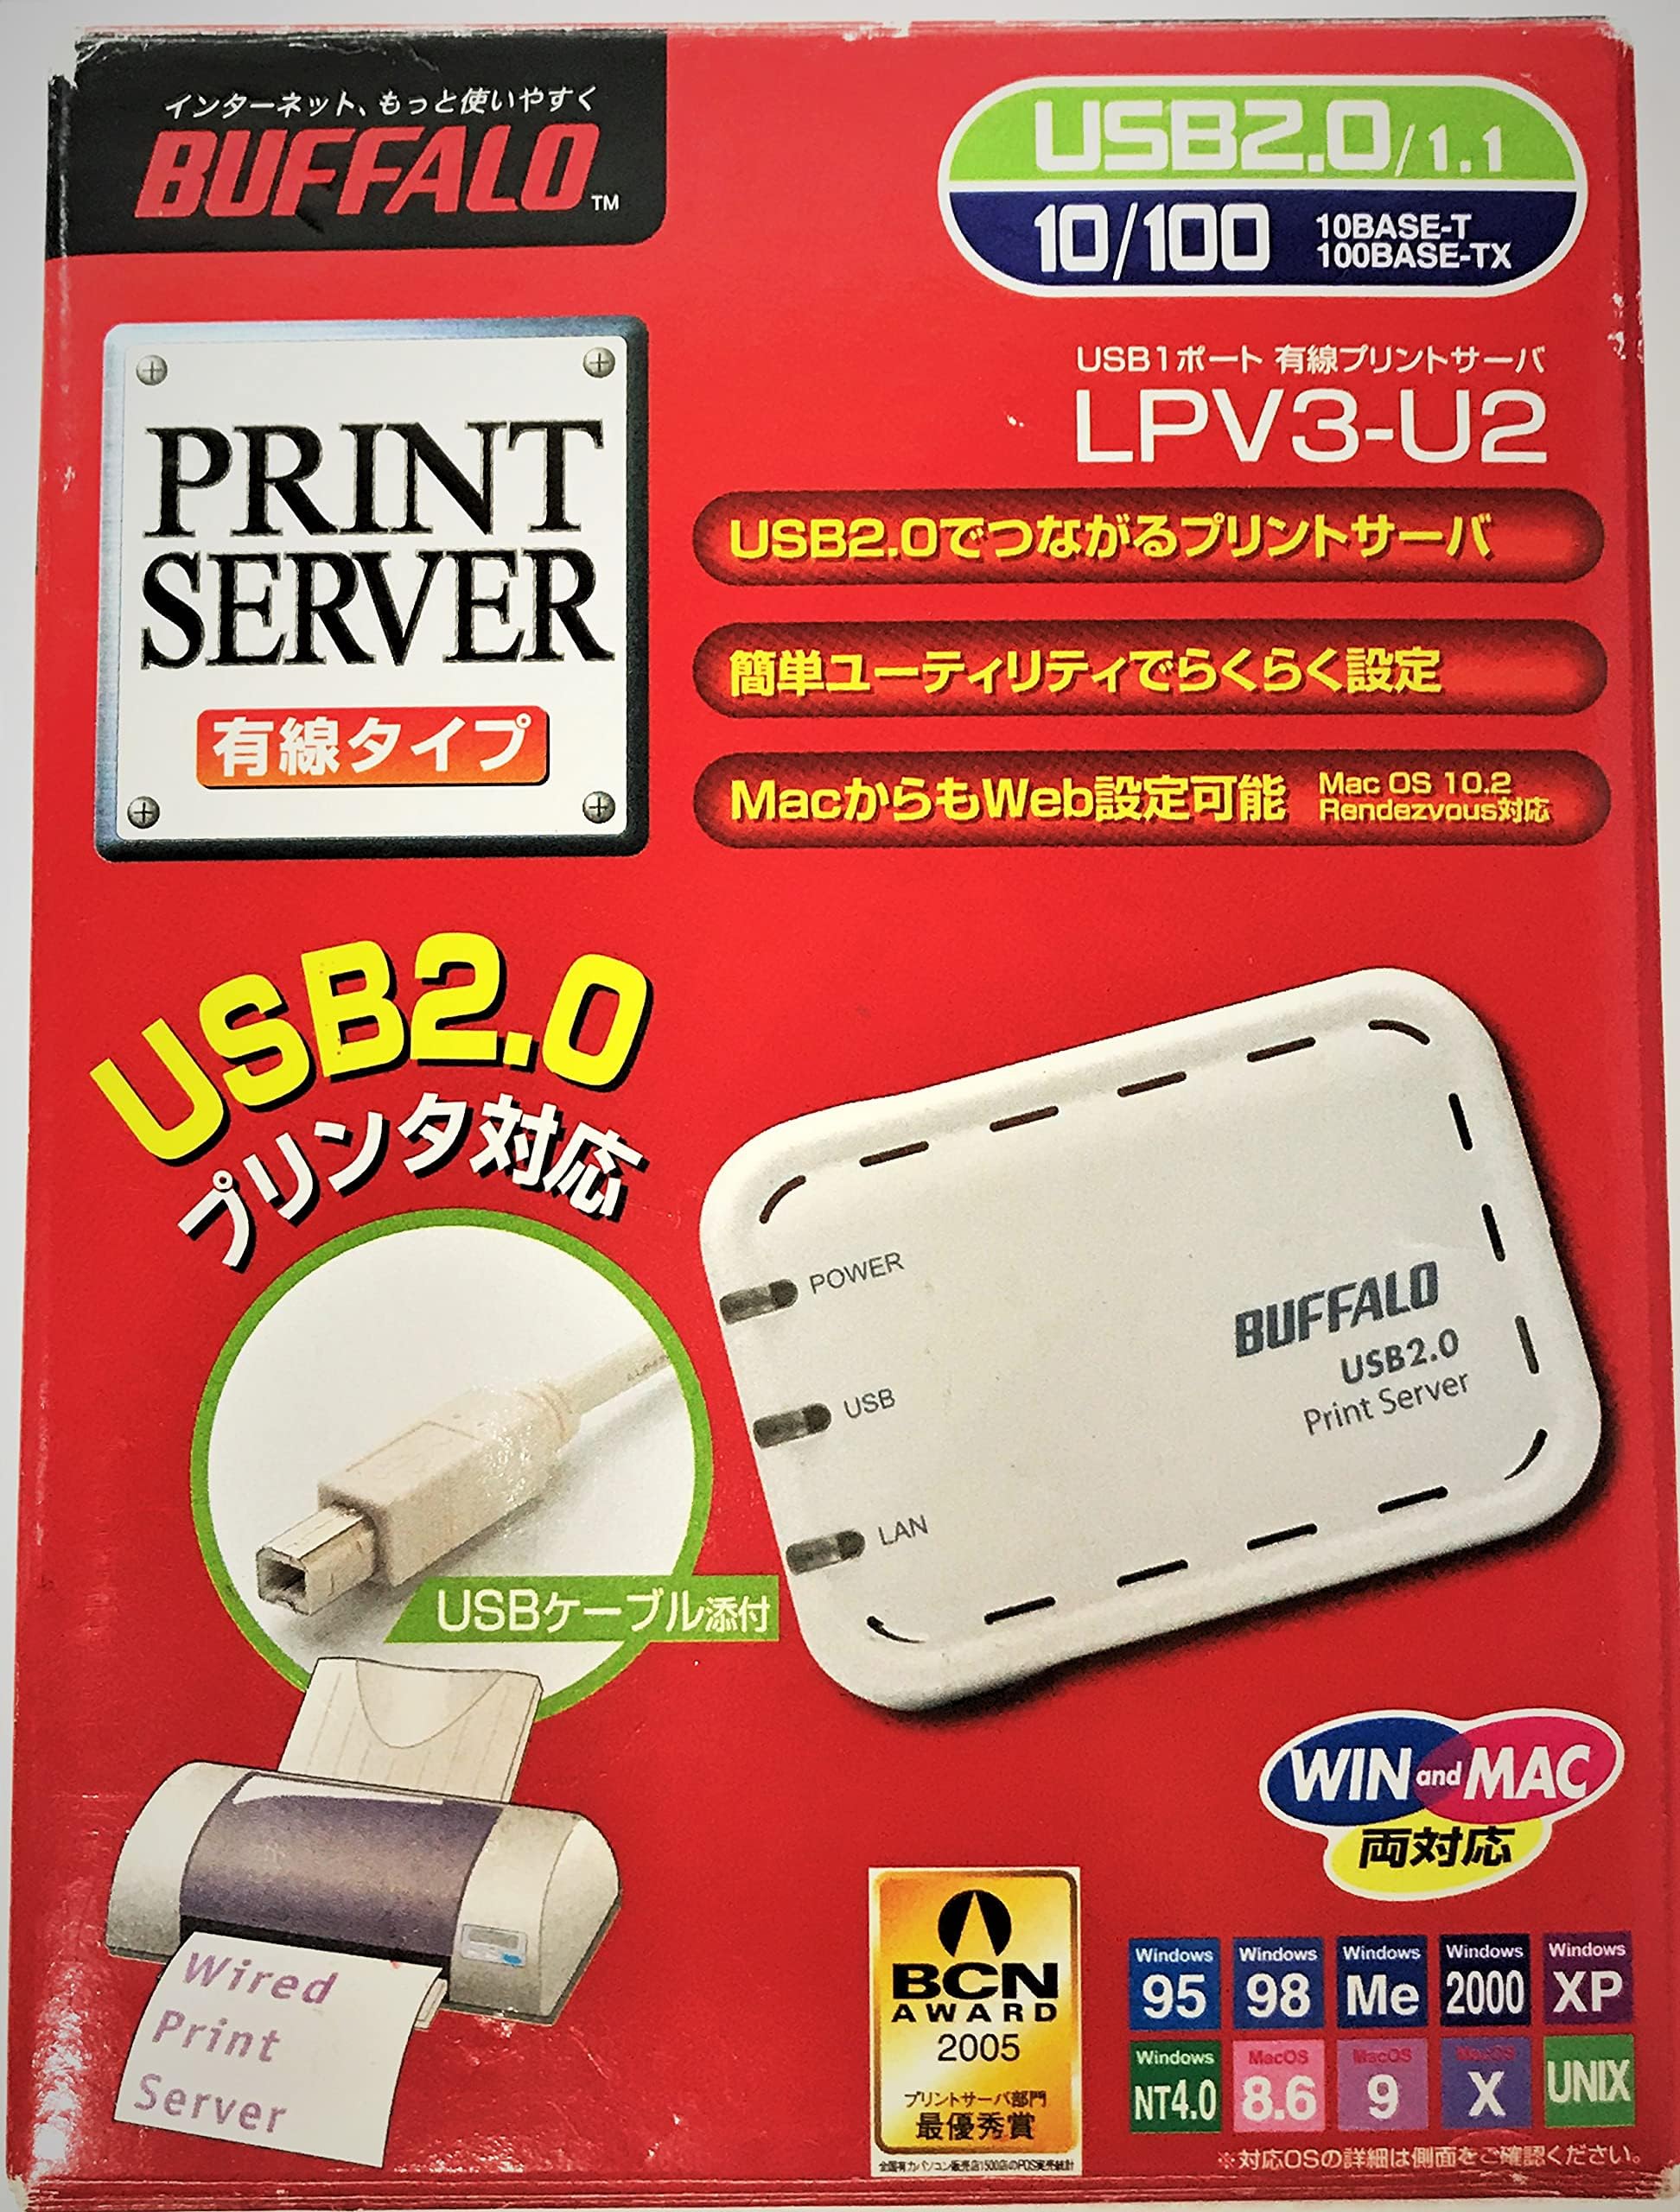
Although I've never heard of Buffalo Technology before ([...]) I decided to purchase this product because there was at least some confirmation from others that it would work with Apple OS X. Linksys was my first choice but they don't claim any Mac support at all for their PSUS4 server so I gave up on them. Anyway when this product arrived I was determined to install it using only my Mac and not resorting to one of my Windows systems because it seemed that most people were having difficulties on the Mac side. The manual section for Mac is completely wrong, so ignore it. Here's what I did: 1. Unpack, plug in to printer, network and lastly plug in the power. 2. I have a DHCP server in my network router which for me means devices get assigned IP addresses from a pool starting with 192.168.0.xxx. Go to your router configuration web page and find the address of the print server device. If you don't have a DHCP server the device will be at IP address 192.168.11.222 according to the manual. 3. Bring up Safari and type in the address, e.g. [...] It will ask you for a username/password. The username is 'root' and the password is empty by default. If you see the printer configuration page then you have confirmed the device is working. You can come back to this page to mess with settings if you know what you are doing. 4. Go to System Preferences, click on Print & Fax. Click on '+'. I'm running OS X Leopard which shows a window with a toolbar with a Default button on the left. You should see 'P1' in the list of printers. 5. Ignore the default setting for 'Print Using' and look for the closest match to your printer in the list of Gutenprint drivers. I have a Canon PIXMA iP3500, so I selected 'Canon PIXMA iP3100' 6. Close the Preferences windows and open TextEdit. Type something in an select File Print... and press Print. You should see the Print Queue window and after a few seconds you should see your document print. Piece of cake! On the Windows side of things don't bother installing the supplied software. It just confuses things. Unlike the Mac installation you couldn't do the Windows one without consulting the manual. Sadly, Windows has became a torturous maze of dialog boxes. Ready? On Windows XP do the following: 1. Go to Control Panel, Printers and Faxes, Add Printer... then click Next 2. Select Local Printer (don't ask) and uncheck the 'Automatically detect (blah)' option 3. Select 'Create New Port', then 'Standard TCP/IP Port'. 4. Next wizard... Type in the IP address from above, and then type over the printer port/name that got unhelpfully filled in for you (remember it is P1 by default) 5. On the next page select 'Generic Network Card'. Yes, I was shaking my head at this point too. 6. After clicking OK on the next very big message box, and a brief intermission, select your printer driver. 7. Print a test page and if all is well you should be up and running. Despite the nuttiness of the operating systems this is a great device. I hope the company comes through it's current legal troubles and continues to produce great products like this.
Trustpilot
2 weeks ago
1 month ago