Description
🔧 Cut like a pro, every time — precision that commands respect!
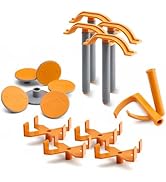
- EFFORTLESS SETUP - Ergonomic Quick Lock Clamp delivers fast, one-sided adjustability with rock-solid grip.
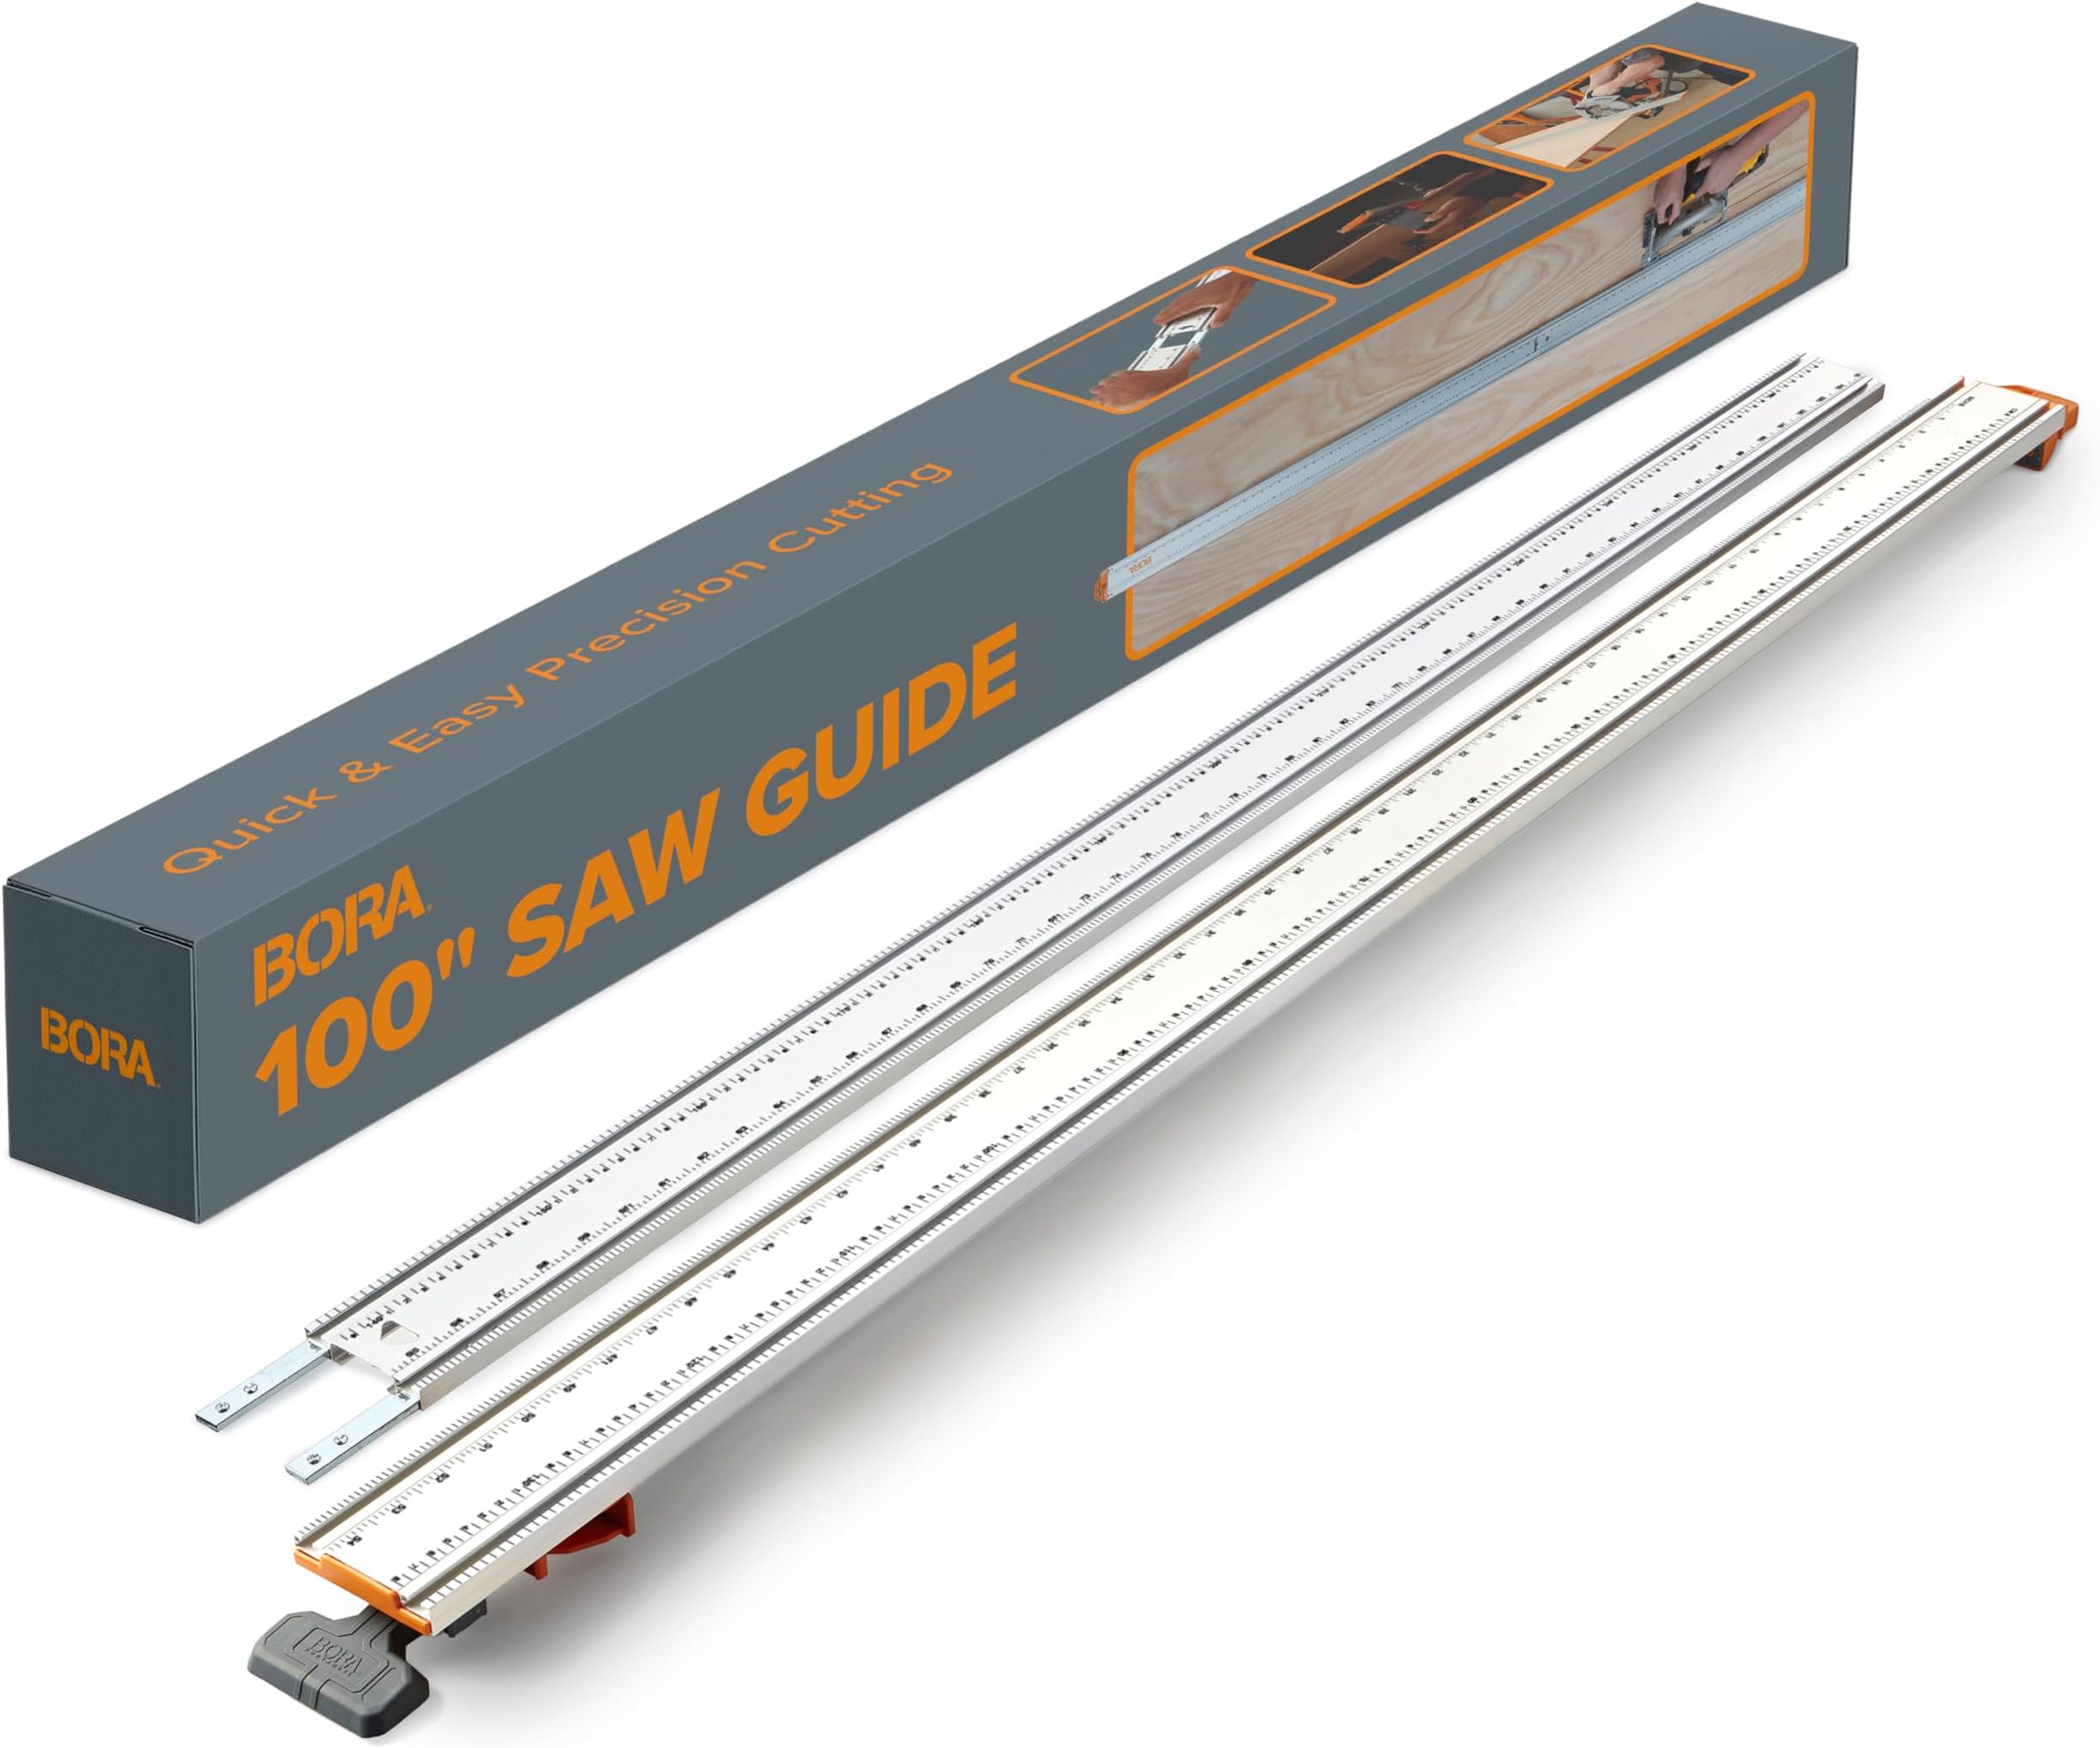
- PRECISION PERFECTED - 100-inch dual-section rail ensures flawless straight cuts on large sheets every time.
- UNIVERSAL COMPATIBILITY - Works seamlessly with all circular saw brands, complete with connectors and locking handles.
- DURABILITY MEETS STABILITY - Thick aluminum construction guarantees a rigid, warp-free guide for consistent results.
- VERSATILE T TRACK INTEGRATION - Built-in dual T tracks instantly upgrade your workspace for routers, jigsaws, and more.
The BORA NGX Clamp Edge Saw Guide is a 100-inch aluminum track system designed for professional-grade straight cuts with any circular saw. Featuring dual integrated T-tracks for accessory versatility and an ergonomic Quick Lock Clamp for fast, secure setup, it delivers unmatched precision and stability. Compatible with all major saw brands, this durable guide rail streamlines woodworking and remodeling projects, ensuring clean, accurate cuts with every use.